Thiết lập môi trường
Thiết lập môi trường
- Open the environment folder
- Trong giao diện web của VSCode, đầu tiên ta mở thư mục
~/environmentqua menu:


Nhấn vào I trust the author tại hộp thoại tiếp theo.

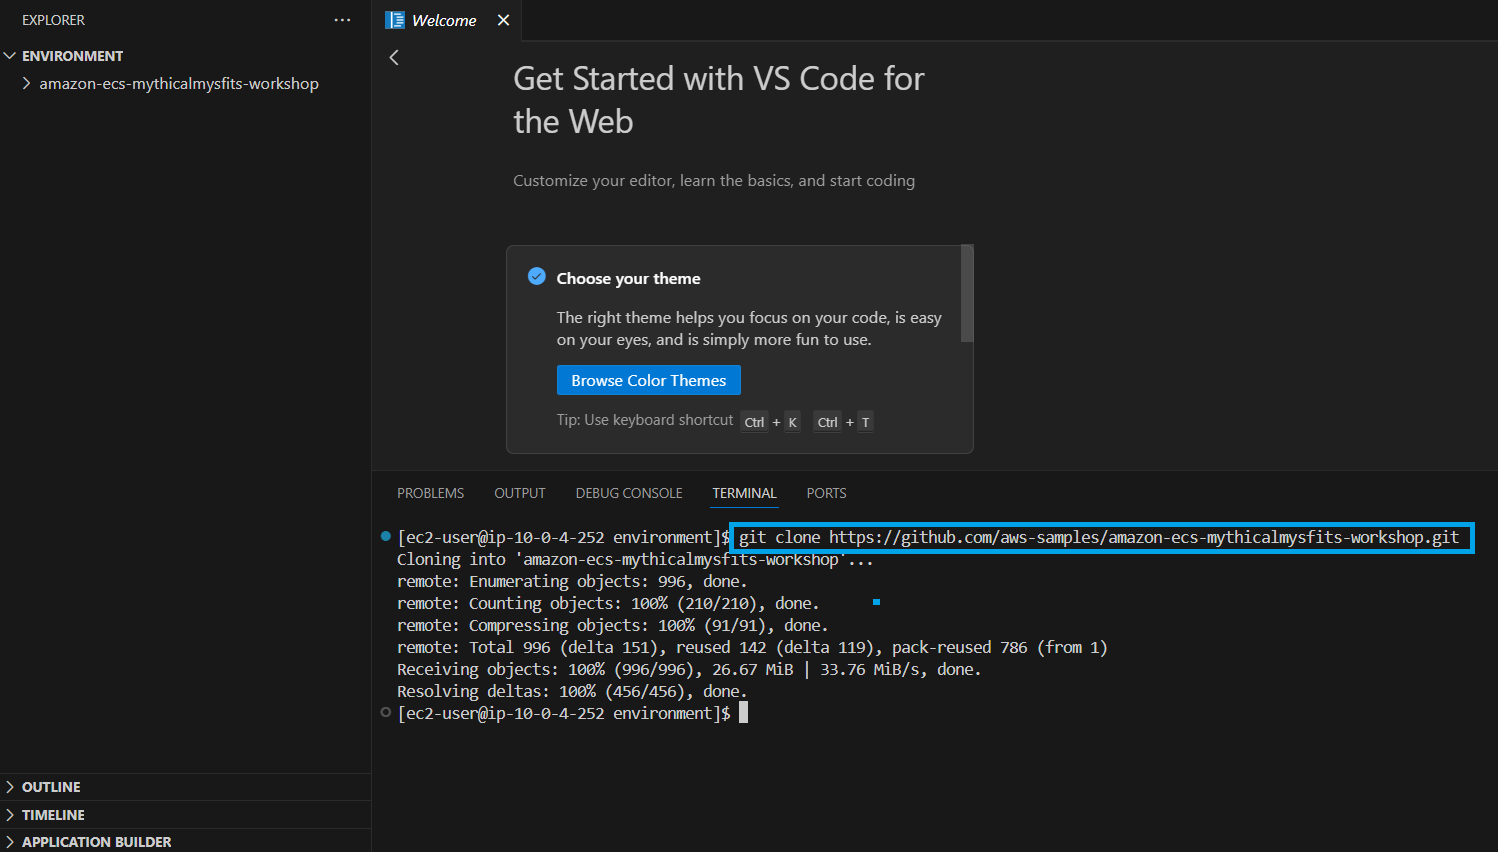
- Tải Mythical Mysfits Workshop Repository về môi trường
- Mở terminal bằng menu hoặc tổ họp phím Ctrl + Shift + C

- Trong giao diện dòng lệnh, chạy lệnh sau:
git clone https://github.com/longthg-workshops/amazon-ecs-mythicalmysfits-workshop.git
- Sau khi clone repository, thay đổi đường dẫn của thư mục:
cd amazon-ecs-mythicalmysfits-workshop/workshop-1

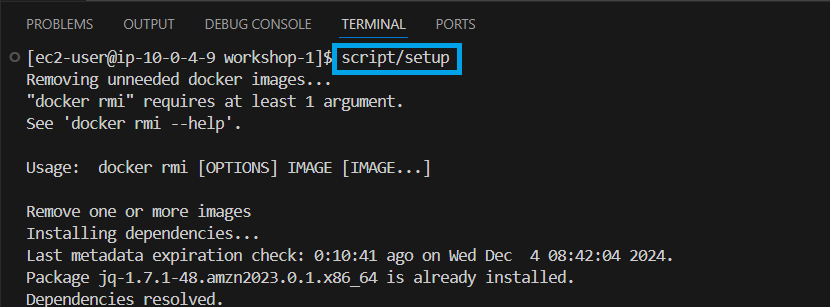
- Chúng ta thực hiện dòng lệnh sau để tiến hành cài đặt môi trường chuẩn bị cho bài lab.
script/setup
- Đoạn script này sẽ xóa đi Docker images không cần thiết để giải phóng dung lượng.
- Đồng thời điền vào bảng DynamoDB dữ liệu gốc.
- Tải nội dung web lên S3.
- Cài đặt một số cơ chế xác thực liên quan đến Docker.
#! /bin/bash

set -eu

echo "Removing unneeded docker images..."
docker images -q | xargs docker rmi || true

echo "Installing dependencies..."
sudo yum install -y jq

echo "Fetching CloudFormation outputs..."
script/fetch-outputs

echo "Populating DynamoDB table..."
script/load-ddb

echo "Uploading static site to S3..."
if [[ $# -eq 1 ]]; then
  script/upload-site $1
else
  script/upload-site
fi

echo "Installing ECR Cred Helper..."
sudo script/credhelper

echo "Success!"
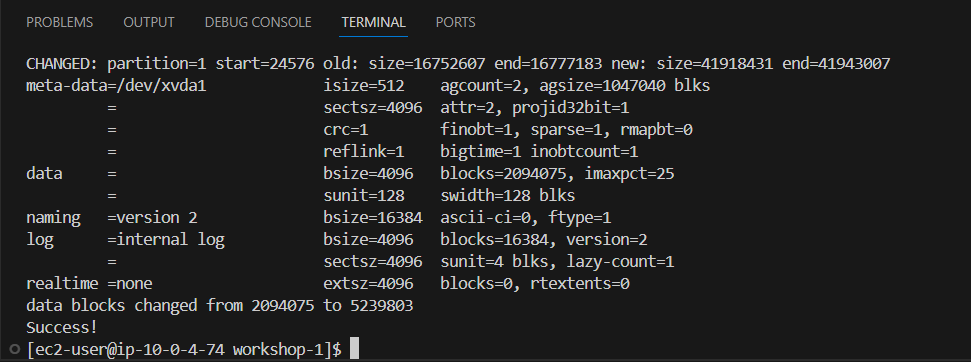
- Khi bạn thấy trên giao diện hiển thị “Success!” là thực thi lệnh thành công.
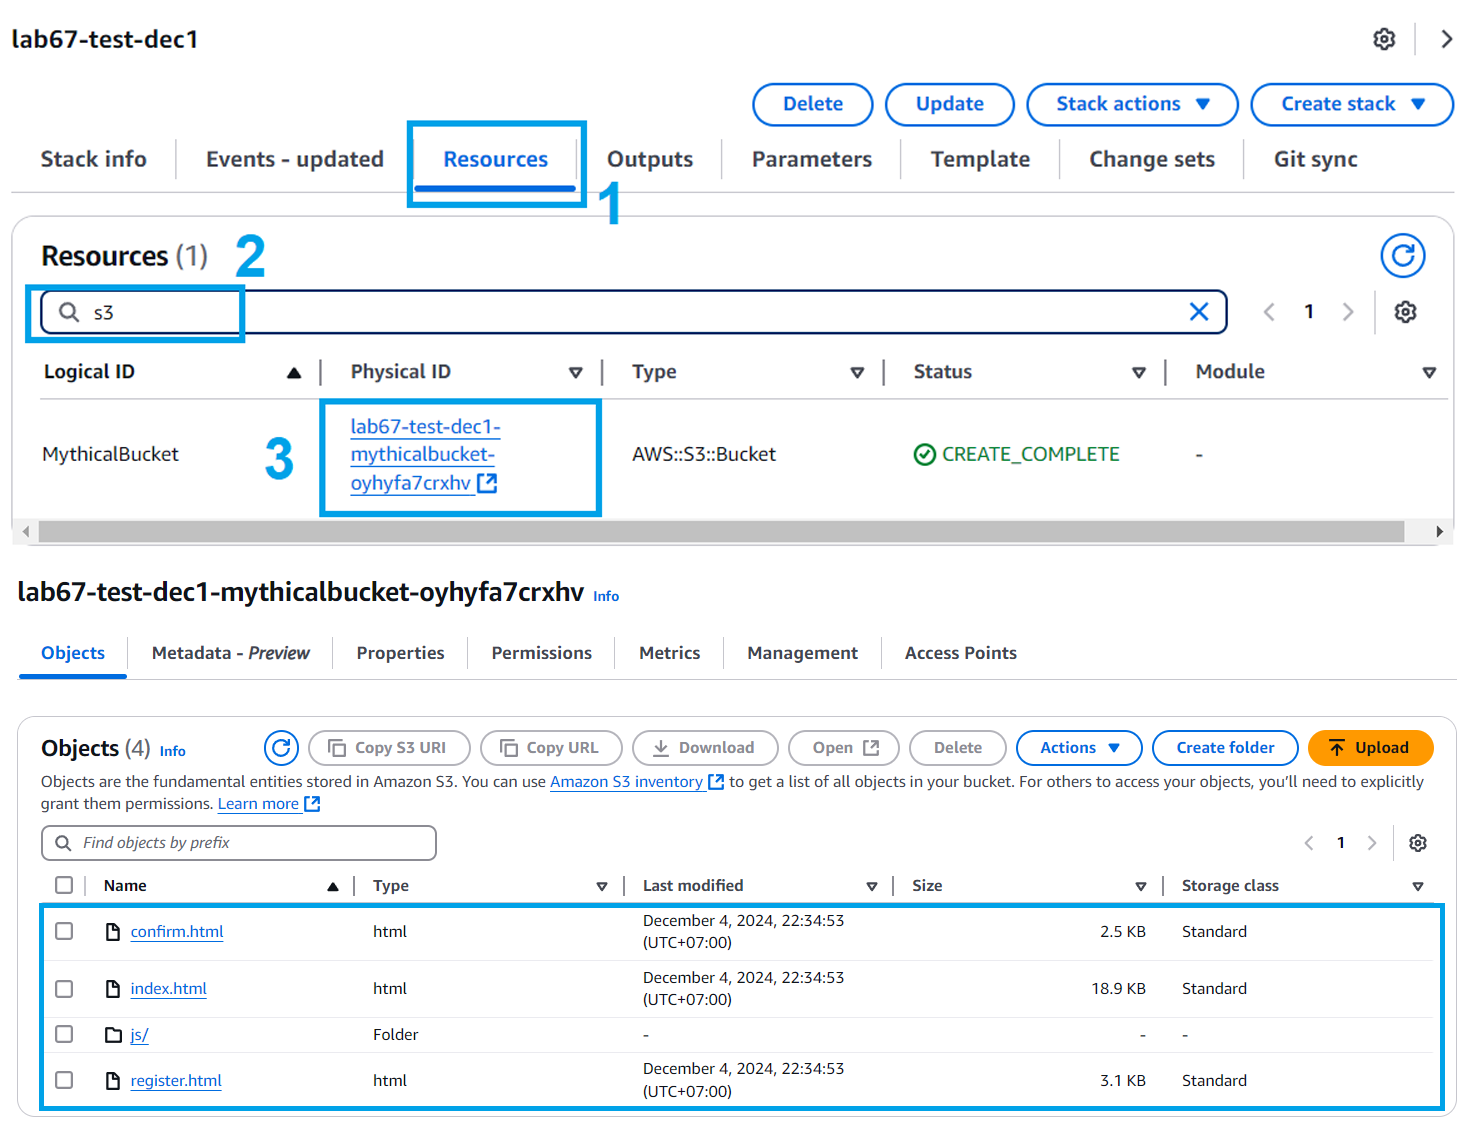
- Kiểm tra trong giao diện S3
- Trong bucket đã được upload các tệp website
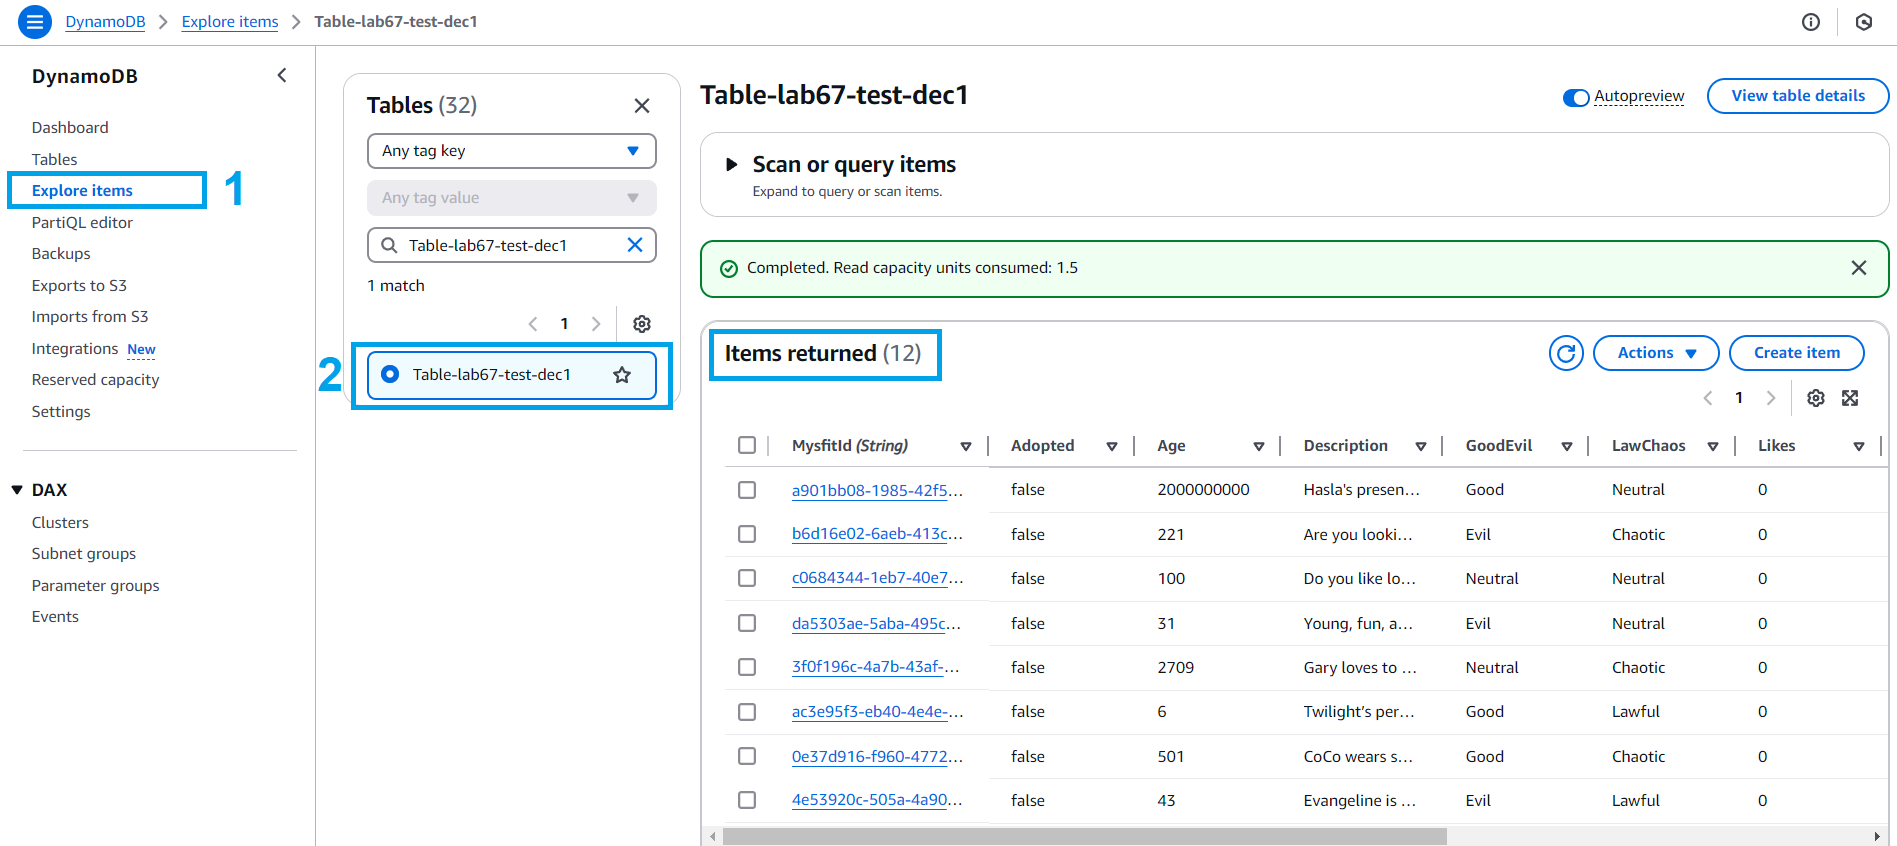
- Kiểm tra trong giao diện DynamoDB
- Dữ liệu gốc đã được điền vào Table DynamoDB
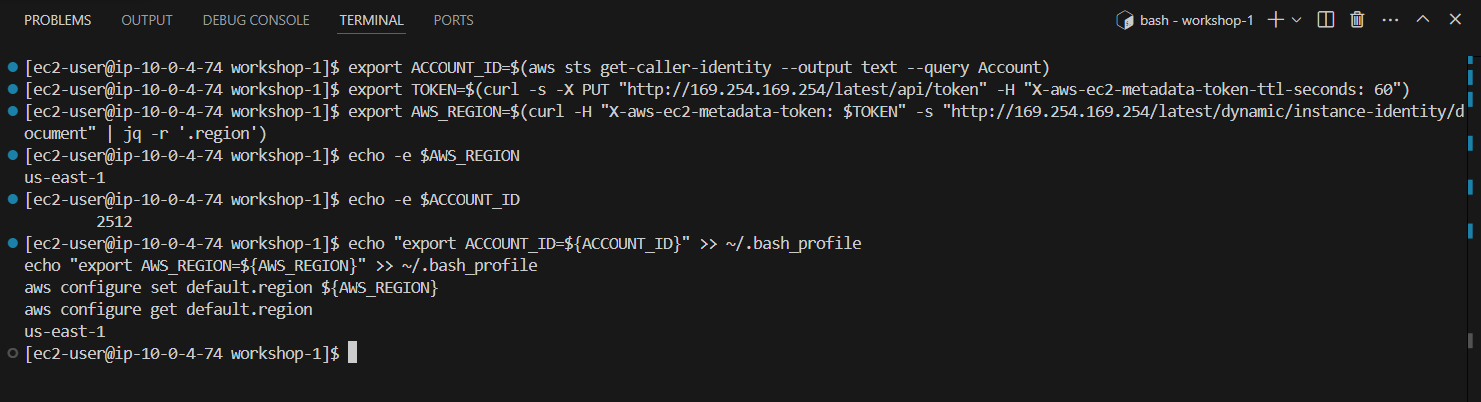
- Chúng ta nên cấu hình aws cli với current region của chúng ta làm mặc định:
export ACCOUNT_ID=$(aws sts get-caller-identity --output text --query Account)
export TOKEN=$(curl -s -X PUT "http://169.254.169.254/latest/api/token" -H "X-aws-ec2-metadata-token-ttl-seconds: 60")
export AWS_REGION=$(curl -H "X-aws-ec2-metadata-token: $TOKEN" -s 169.254.169.254/latest/dynamic/instance-identity/document | jq -r '.region')

echo "export ACCOUNT_ID=${ACCOUNT_ID}" >> ~/.bash_profile
echo "export AWS_REGION=${AWS_REGION}" >> ~/.bash_profile
aws configure set default.region ${AWS_REGION}
aws configure get default.region