Create ECS Service
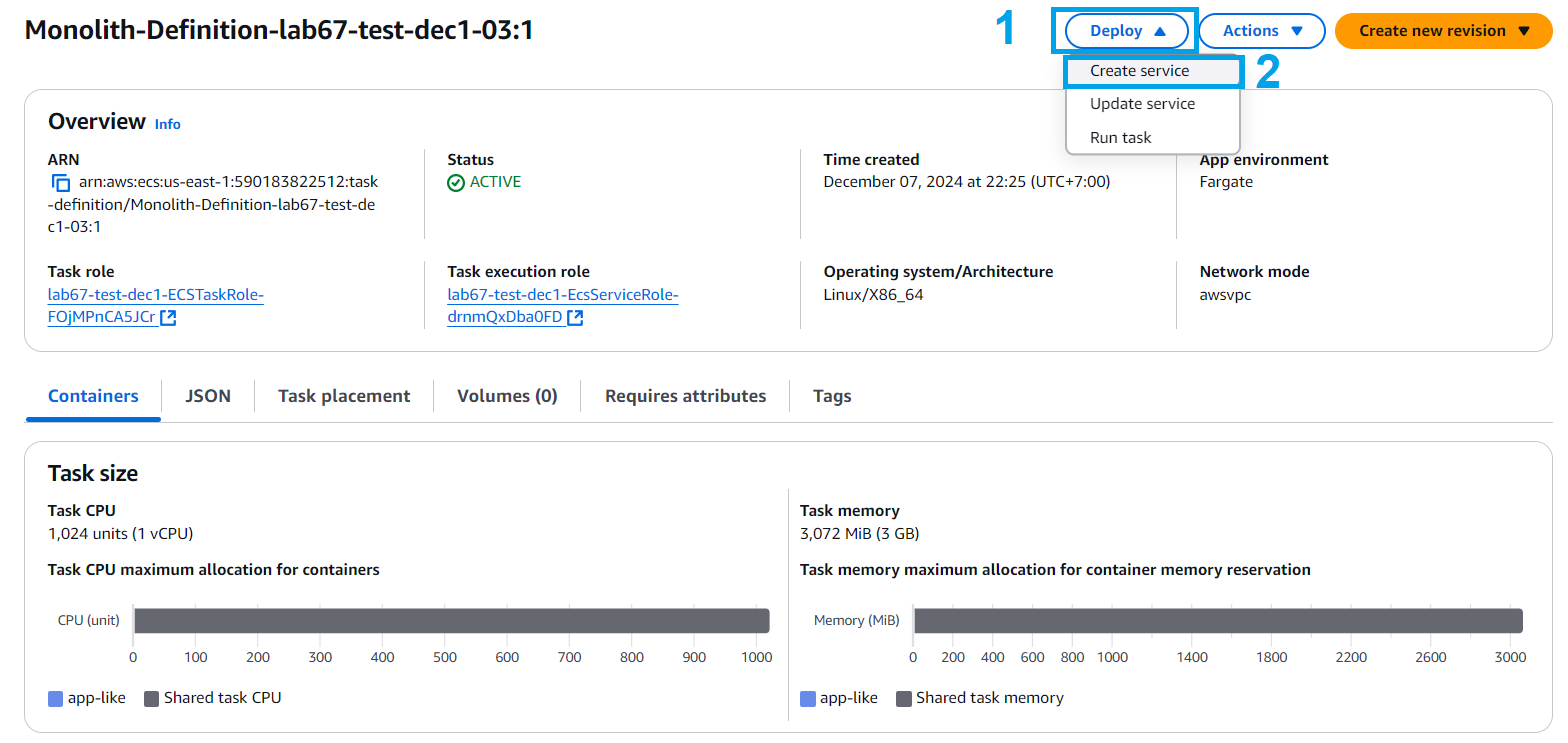
- Cũng trong giao diện Task vừa tạo, chúng ta sẽ tạo một ECS service để chạy Task definition vừa tạo.
- Chọn Deploy
- Chọn Create Sevice
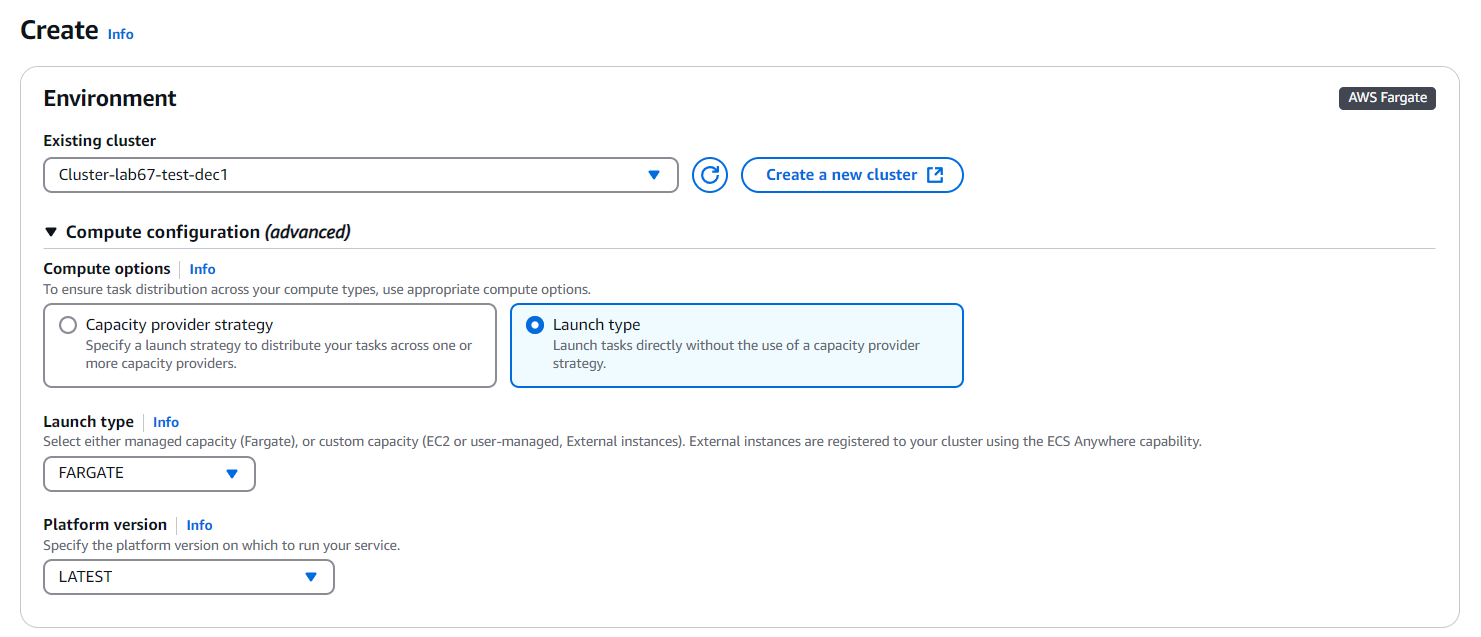
- Thiết lập môi trường
- Chọn cluster (Cluster-STACK_NAME)
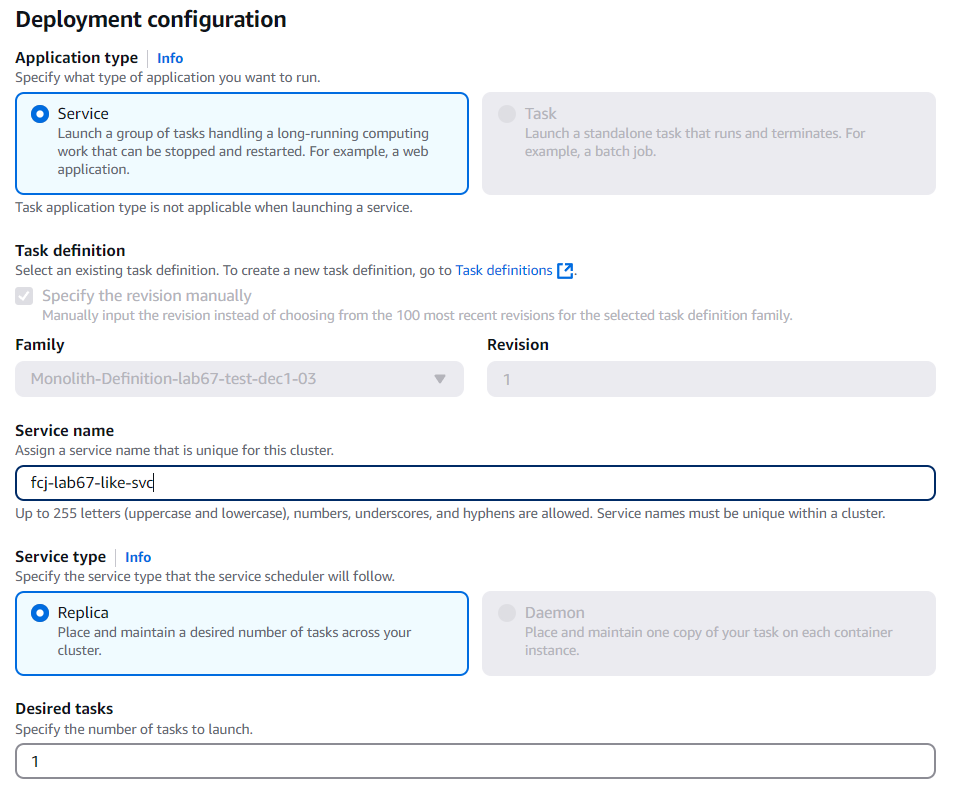
- Thực hiện cấu hình Deployment*
- Application type, mặc định Service
- Thực hiện đặt tên Service name
- Desired tasks, chọn 1
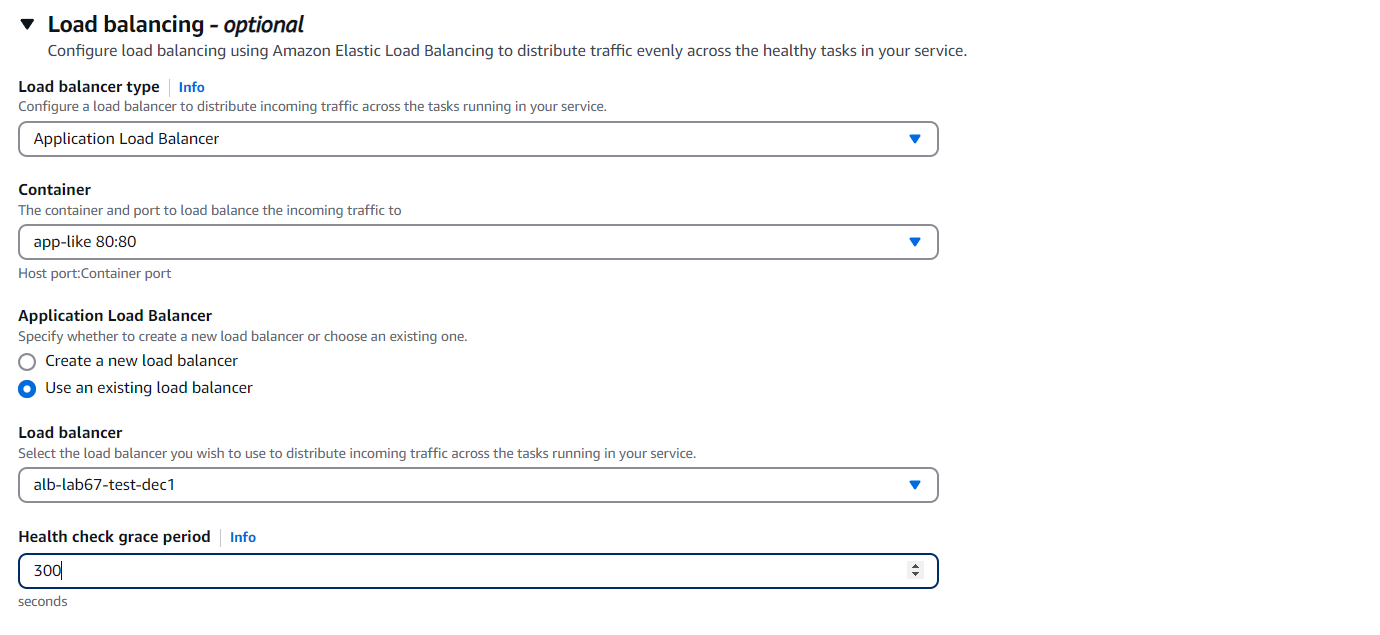
- Thực hiện cấu hình Load Balancing
- Chọn Application Load Balancer
- Chọn Use an existing load balancer
- Chọn alb-STACK_NAME
- Cấu hình Listener (Port: 8080 và Protocol: HTTP)
- Tạo Target group, nhập
microservice-tg - Health check path, nhập /
- Health check grace period, nhập 300
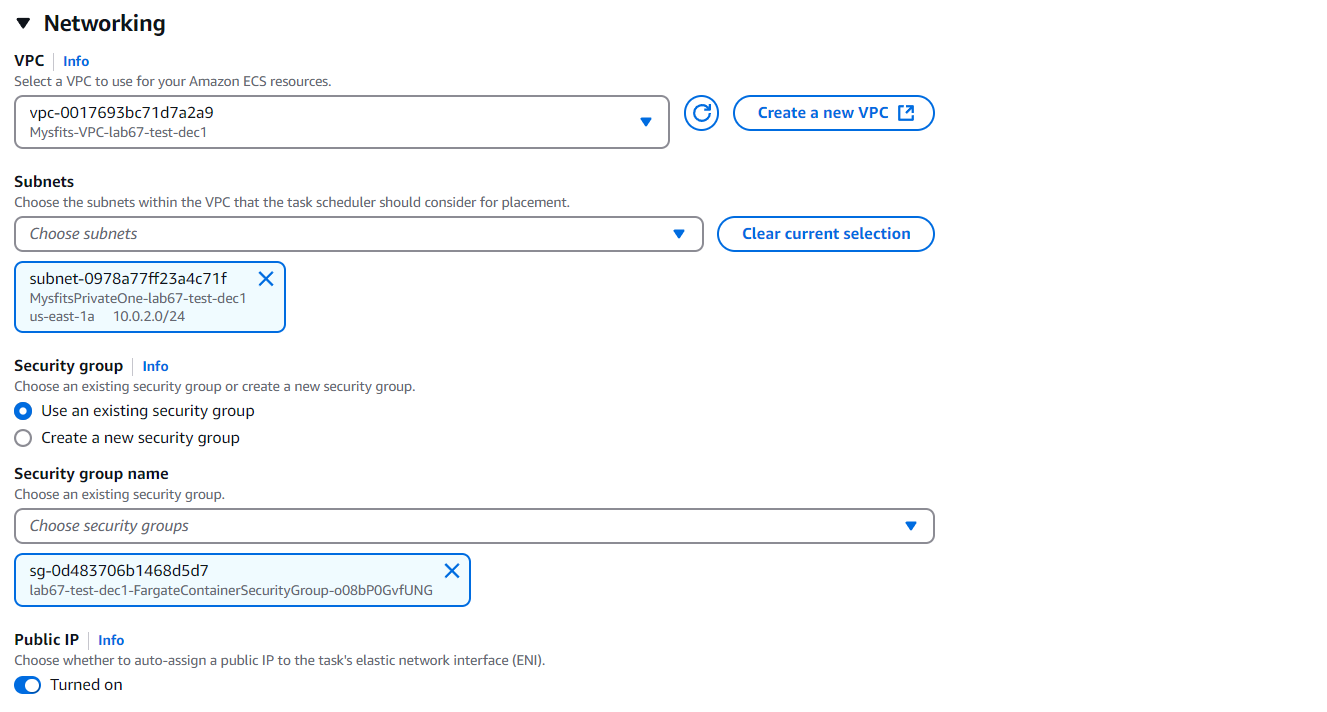
- Cấu hình Network
- VPC, chọn Mysfits-STACK_NAME
- Subnets, chọn private subnet
- Về Security group, chọn Use an existing security group
- Ta chọn Security group default và đảm bảo inbound cấu hình HTTP (cổng 80)
- Chọn Deploy
- Như vậy, chúng ta tạo service deploy thành công.
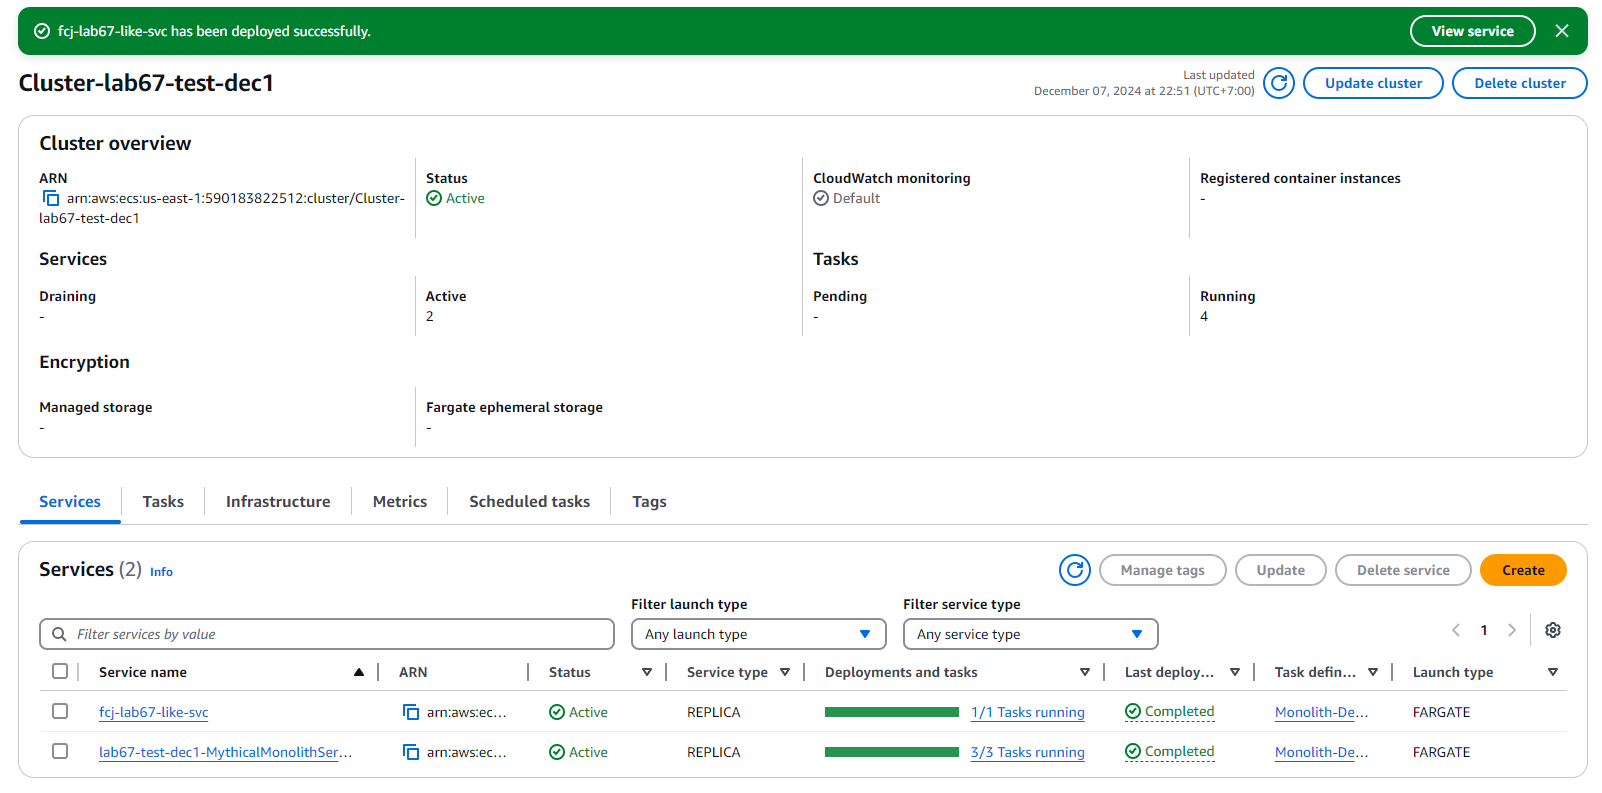
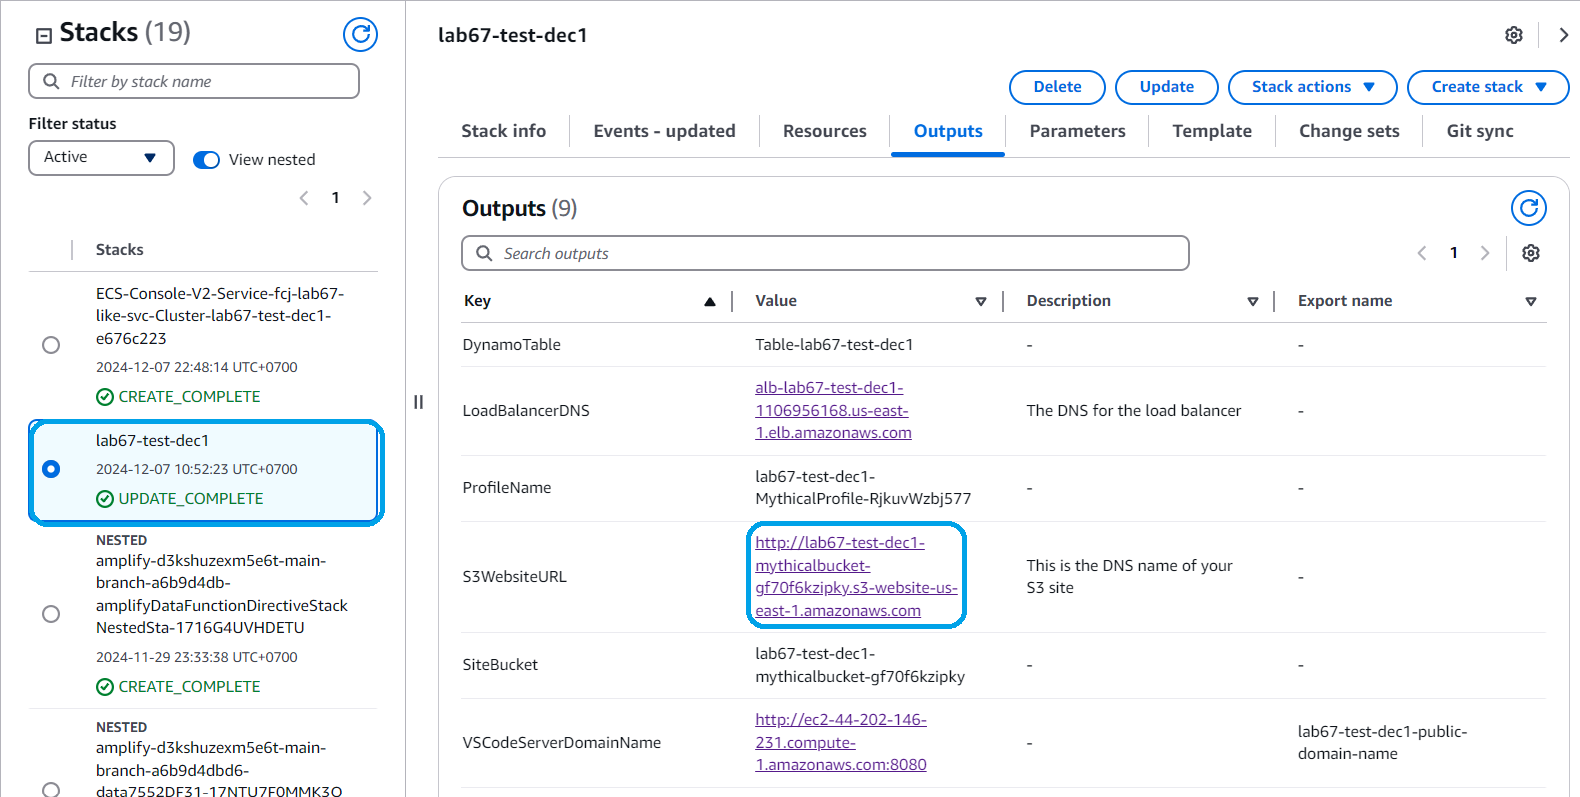
- Sau khi Microservice service deploy, chúng ta thực hiện kiểm tra giao diện website và thực hiện test like.
- Chọn S3WebsiteURL
- Chúng ta sử dụng trình duyệt truy cập vào website. Kiểm tra lại CloudWatch logs và hiển thị “Like processed.”

- Thực hiện bỏ phần endpoint từ monolith bằng cách sử dụng Cloud9.
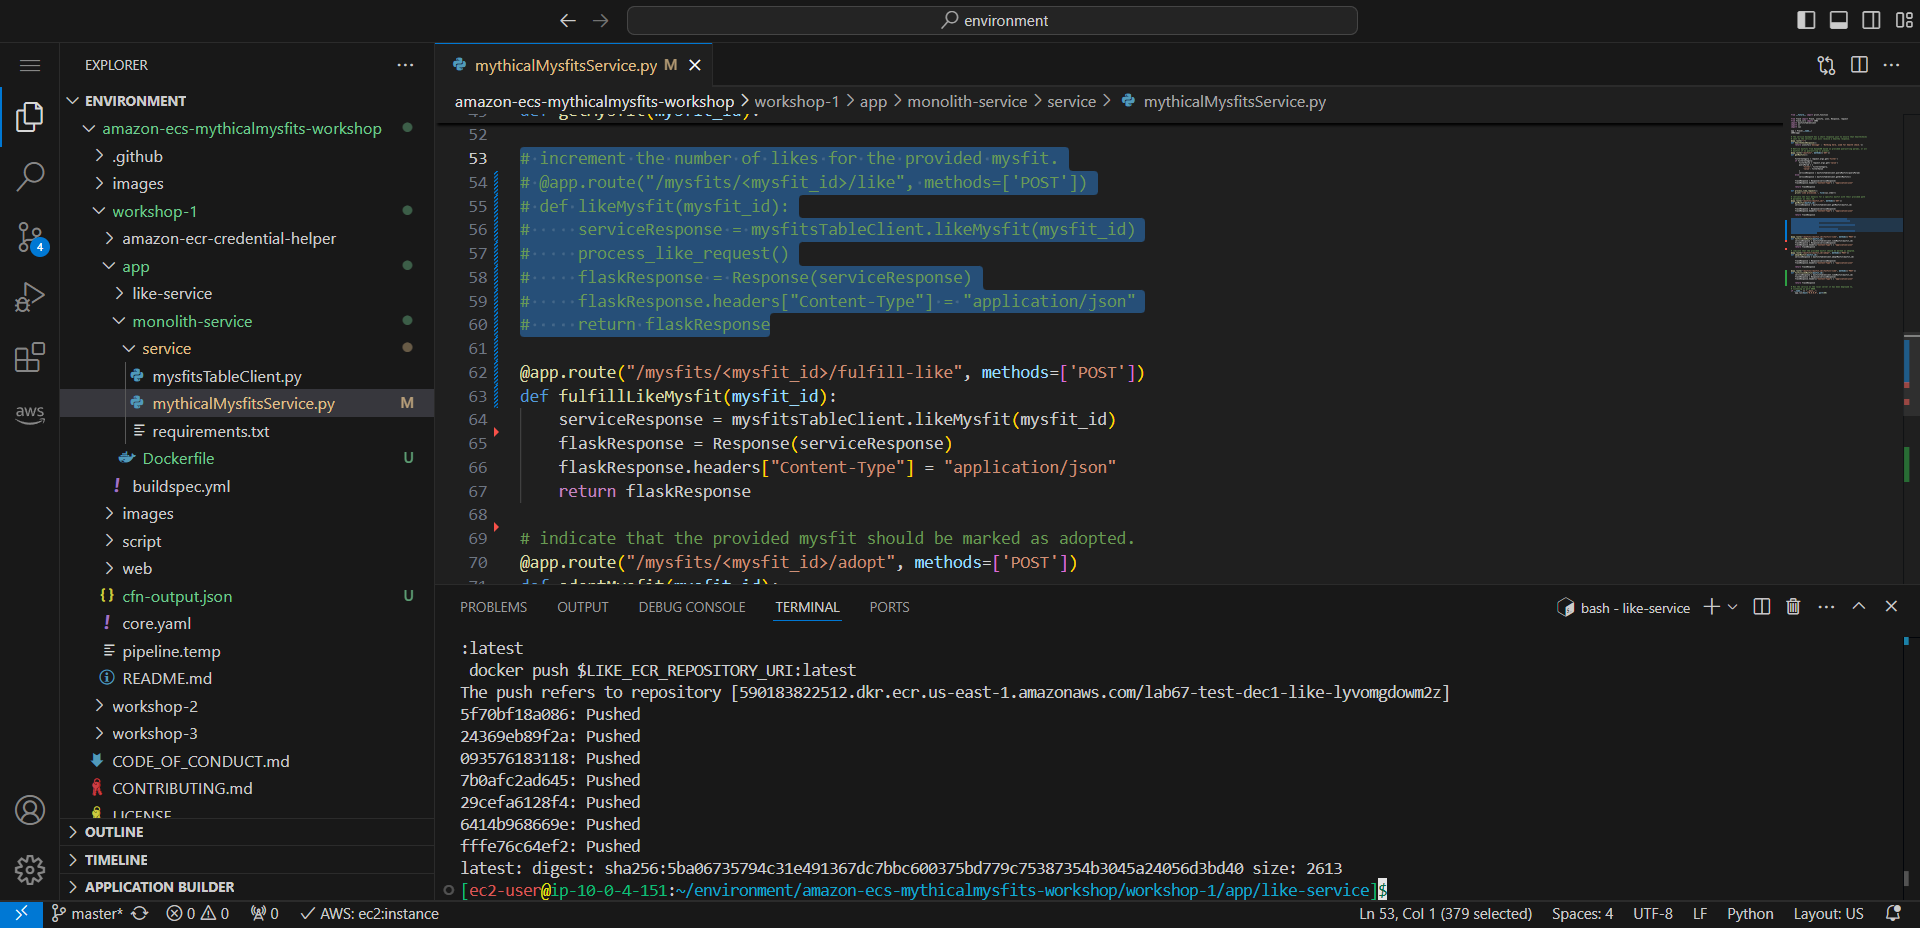
- Trong monolith folder, mở mythicalMysfitsService.py tìm đoạn code sau:
# increment the number of likes for the provided mysfit.
@app.route("/mysfits/<mysfit_id>/like", methods=['POST'])
def likeMysfit(mysfit_id):
    serviceResponse = mysfitsTableClient.likeMysfit(mysfit_id)
    process_like_request()
    flaskResponse = Response(serviceResponse)
    flaskResponse.headers["Content-Type"] = "application/json"
    return flaskResponse
Bạn có thể xóa hoặc comment code.
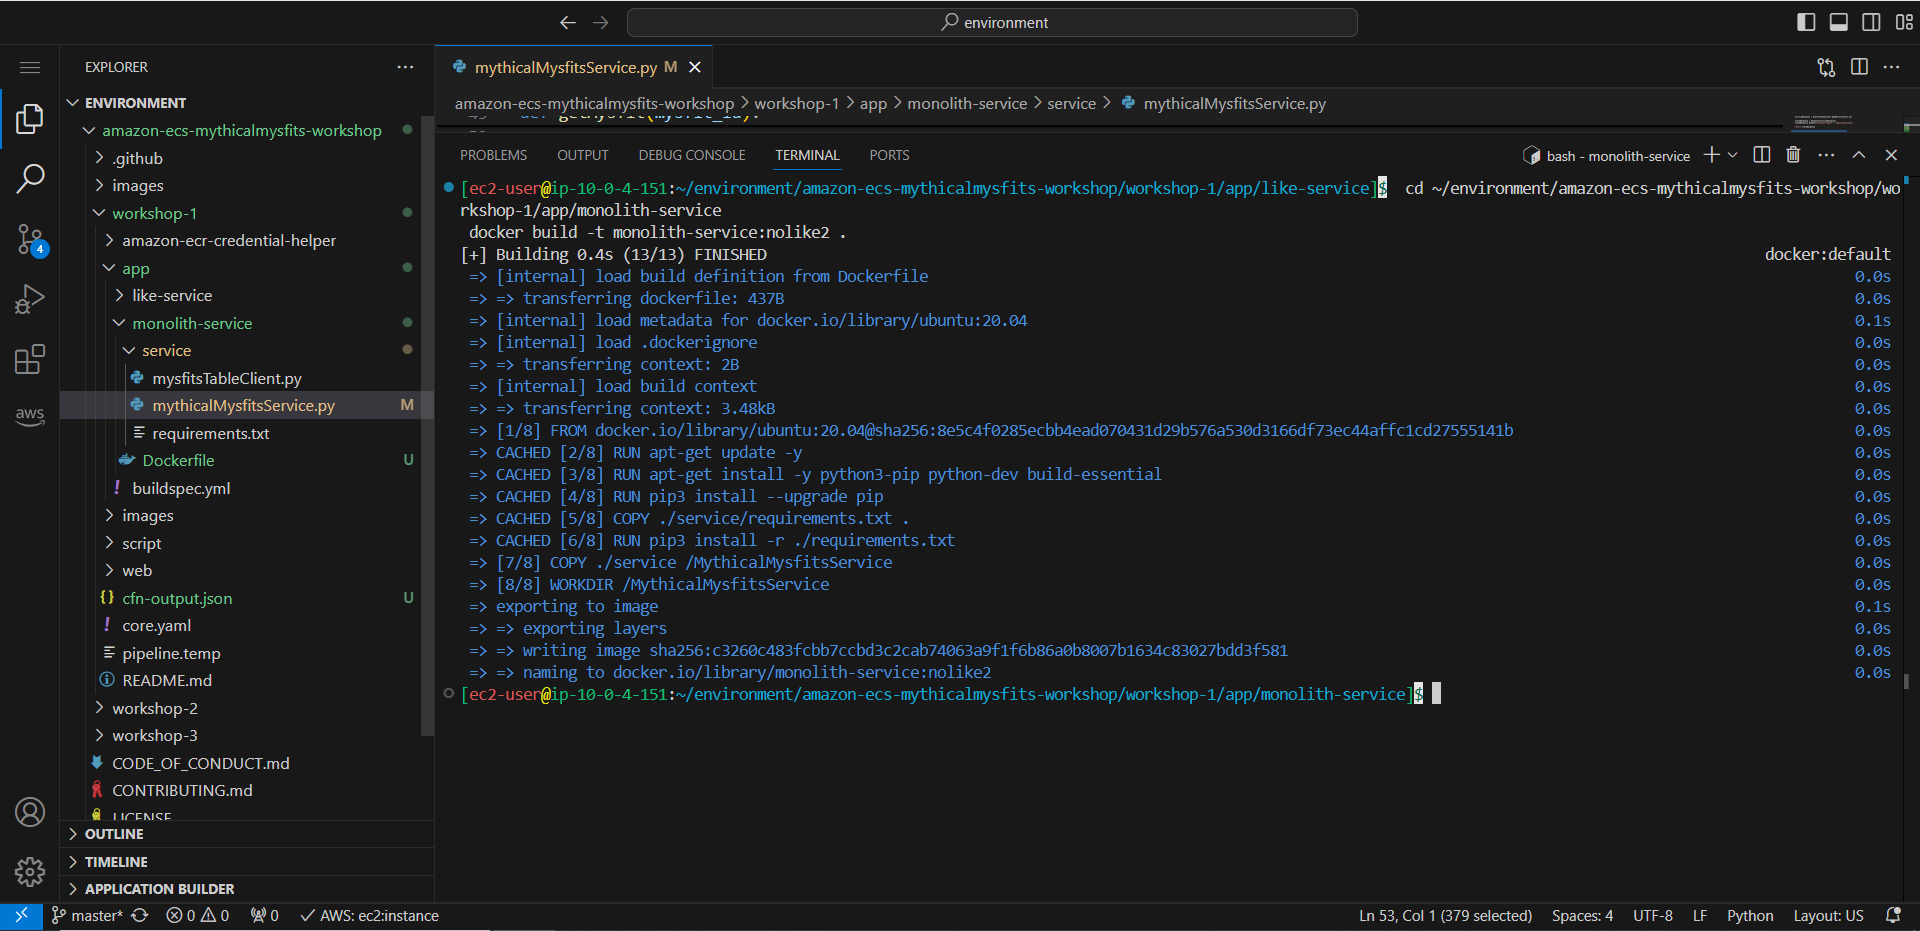
- Sau đó, chúng ta thực hiện build monolith image
cd ~/environment/amazon-ecs-mythicalmysfits-workshop/workshop-1/app/monolith-service
docker build -t monolith-service:nolike2 .
- Thực hiện gán tag và push lên monolith ECR repository.
- Chúng ta sử dụng tag: nolike2.
docker tag monolith-service:nolike2 $MONO_ECR_REPOSITORY_URI:nolike2
docker push $MONO_ECR_REPOSITORY_URI:nolike2
- Kiểm tra monolith repository trên ECR, ta sẽ thấy image được push với tag là nolike2.
- Bây giờ, hãy tạo một Task Definition cuối cùng cho monolith để tham chiếu đến URI Image Container này và update dịch vụ monolith để sử dụng Task Definition mới và đảm bảo ứng dụng vẫn hoạt động như trước.