Create your CloudFormation Stack
Create CloudFormation Stack
-
Use the online Argon2 Hash Generator to generate the hashed password for the VSCode Server.
-
Enter your unhashed password. Save that password for later uses when you log into the IDE.
-
Ensure the following parameters, or your password will be unusable:
- Parallelism Factor: 1
- Memory Cost: 4096
- Iterations: 3
- Hash Length: 16
- Hash Type: Argon2i
-
Click Generate Hash
-
Copy the hashed password. Save it so you would enter it during the CloudFormation Stack creation.
-
-
Go to the CloudFormation Console to proceed with stack creation.
Use this yaml file to deploy your CloudFormation stack.
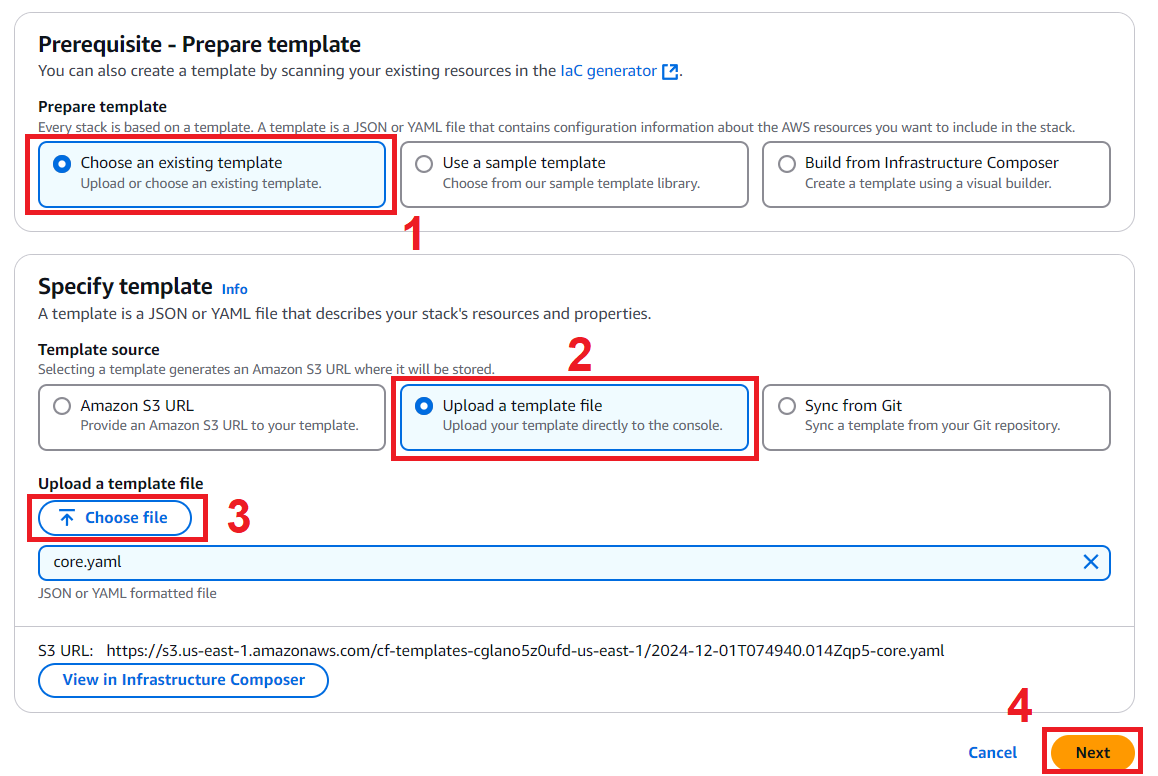
- The first step, configure the template. Select Template is ready
- Template source, select Amazon S3 URL
- In the lab, preconfigured Amazon S3 URL
- Click Next
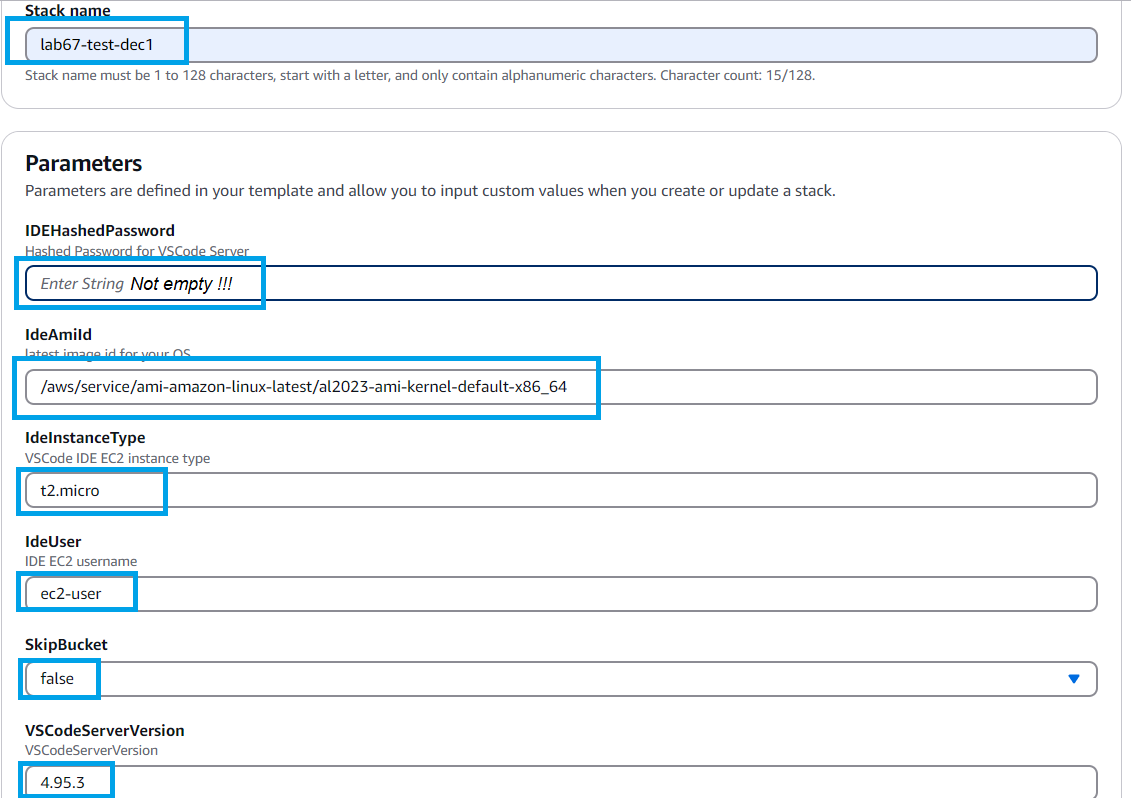
- We configure the stack details
- Stack name, enter the stack name you want to set.
STACK_NAME will be used as the header or header of the names of the services in this lab. Example: alb-STACK_NAME-XXX
-
In the Parameters section:
-
For IdeAmiId, the default value is the latest Amazon Linux 2023 AMI. You can replace it with another AMI as you desire.
-
Enter an instance type. To minimize cost, keep the
t2.micro(free-tier eligible) ort3.micro. For better performance, it is Recommended to uset3.smallor larger types instead. -
Select false for SkipBucket
-
For VSCodeServerVersion, enter your desired version (without the “v” at the beginning). You can see the list of versions here.
-
-
Click Next
-
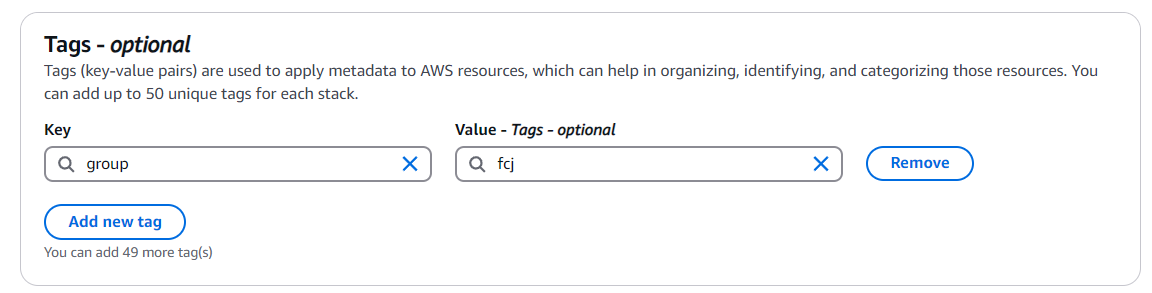
Proceed to Configure stack options
- Tags, enter the value key-value (you can enter it)
- Stack failure options - Choose how you want your stack to behave on failure.

-
Tick the checkbox on I acknowledge that AWS CloudFormation might create IAM resources, then click Next.

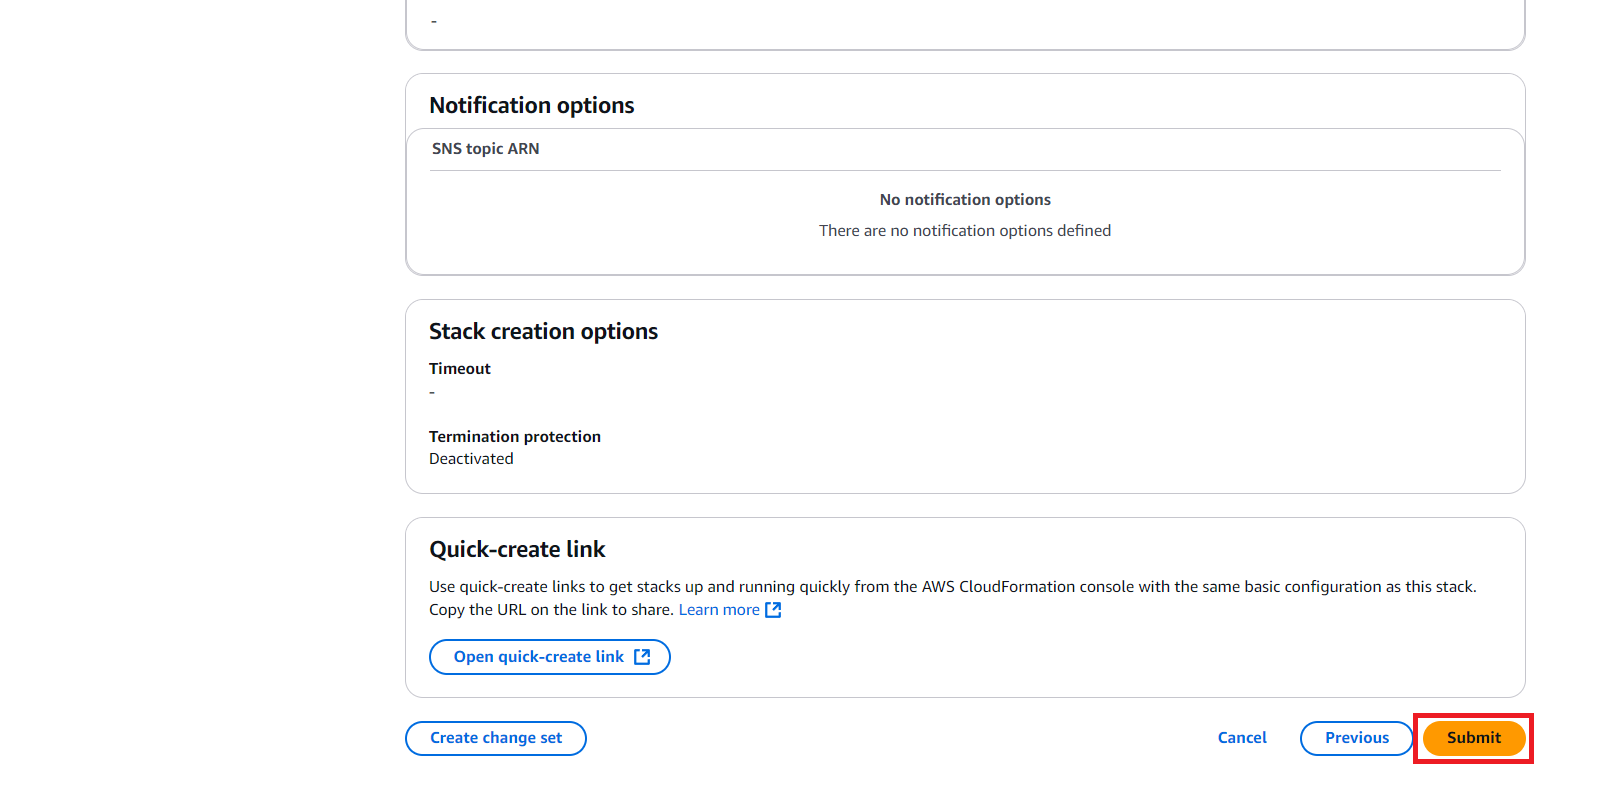
- Check your stack configuration . When you’re satisfied, click Submit.
- Stack creation takes about 7 minutes. When done, the status is switched to CREATE_COMPLETE.
This stack initializes An EC2 instance with VSCode Server IDE installed, a DynamoDB Table, LoadBalancerDNS, ProfileName, S3WebsiteURL, SiteBucket.
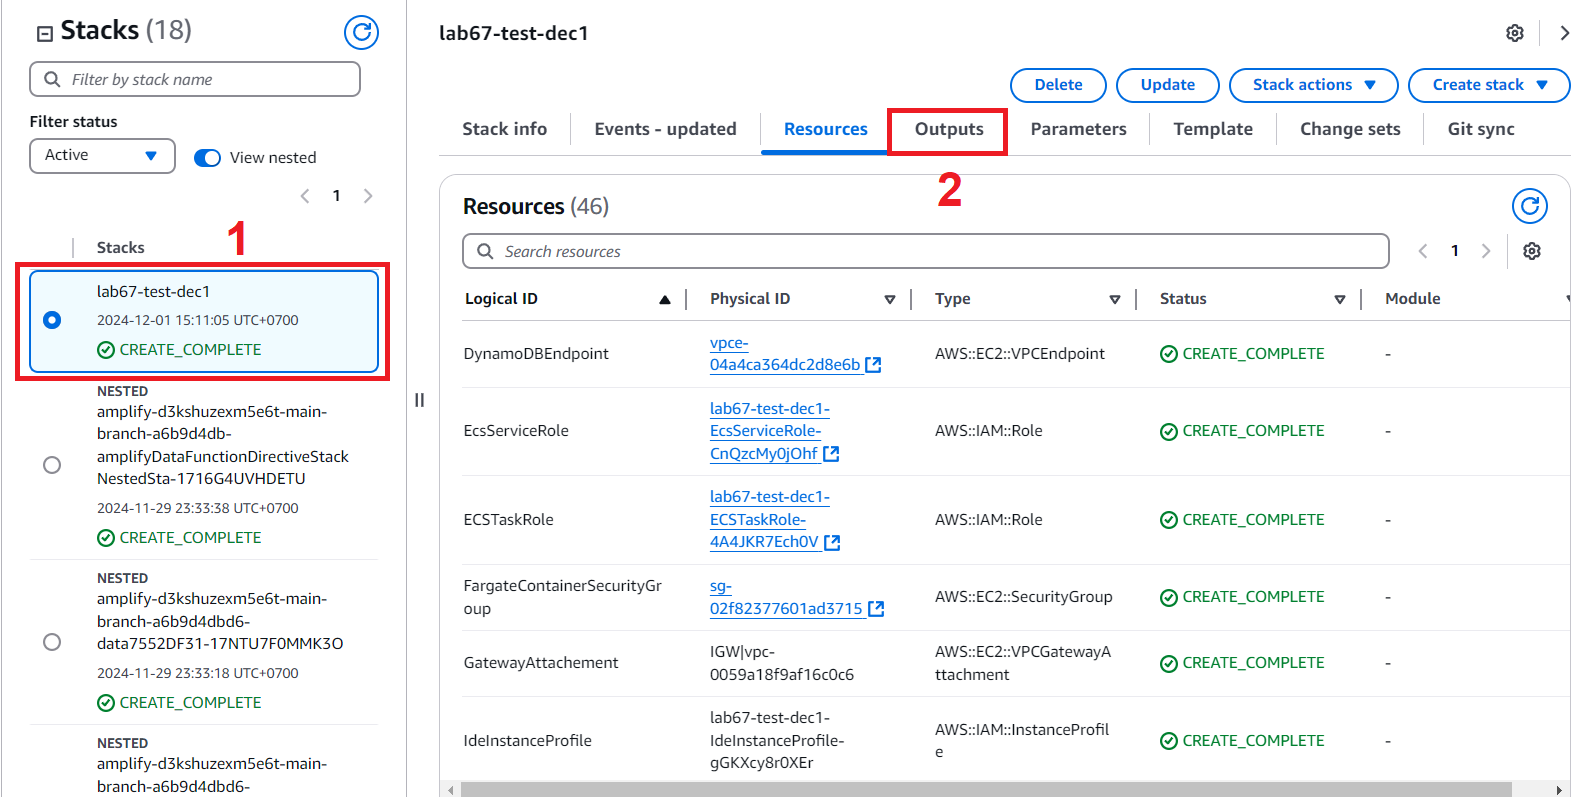
- In the newly created stack interface
- Select Outputs
- Find the value of VSCodeServerDomainName.
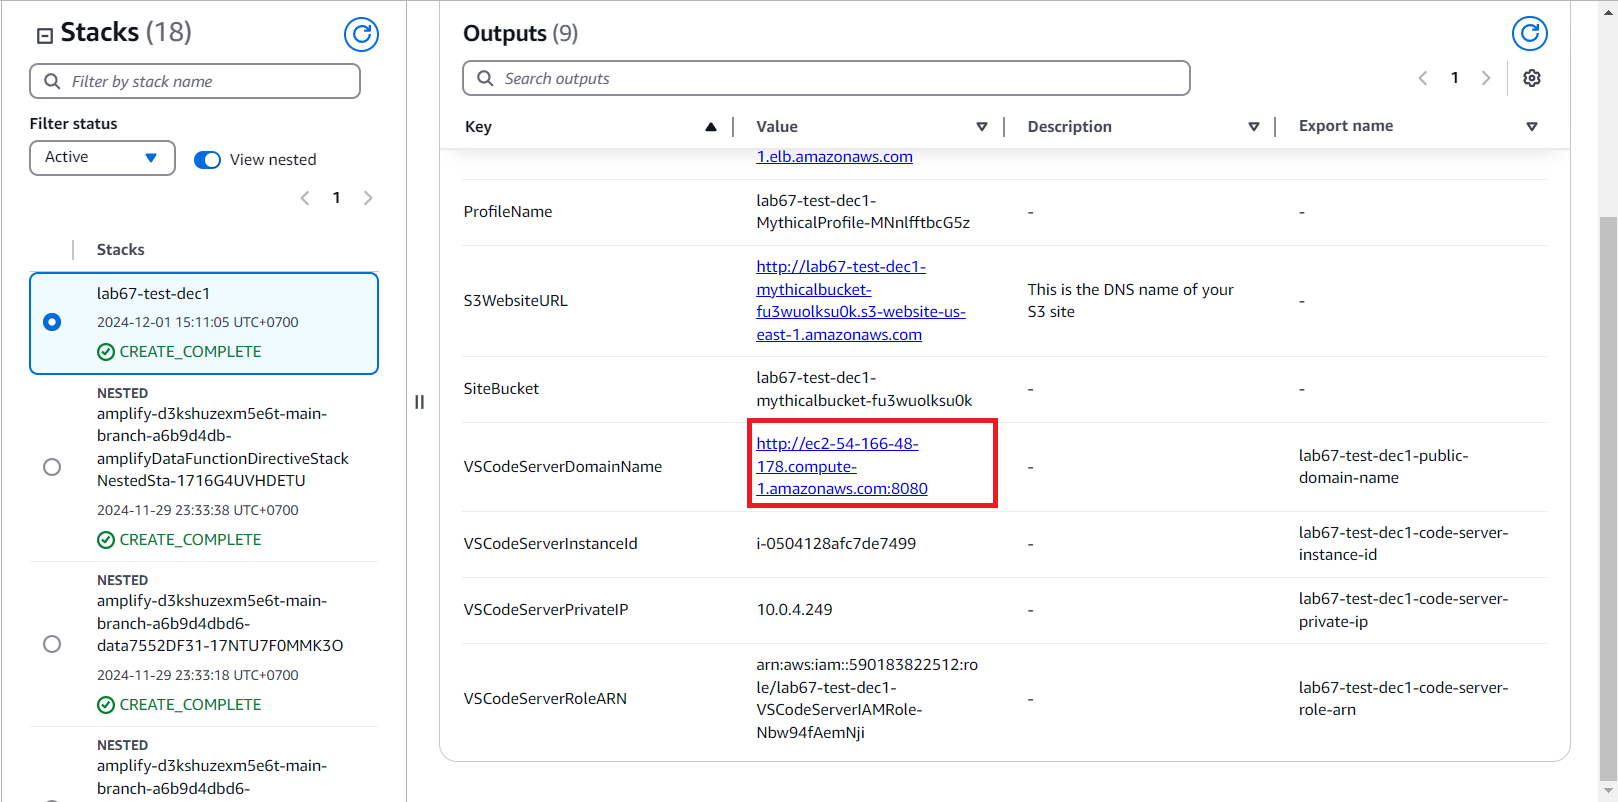
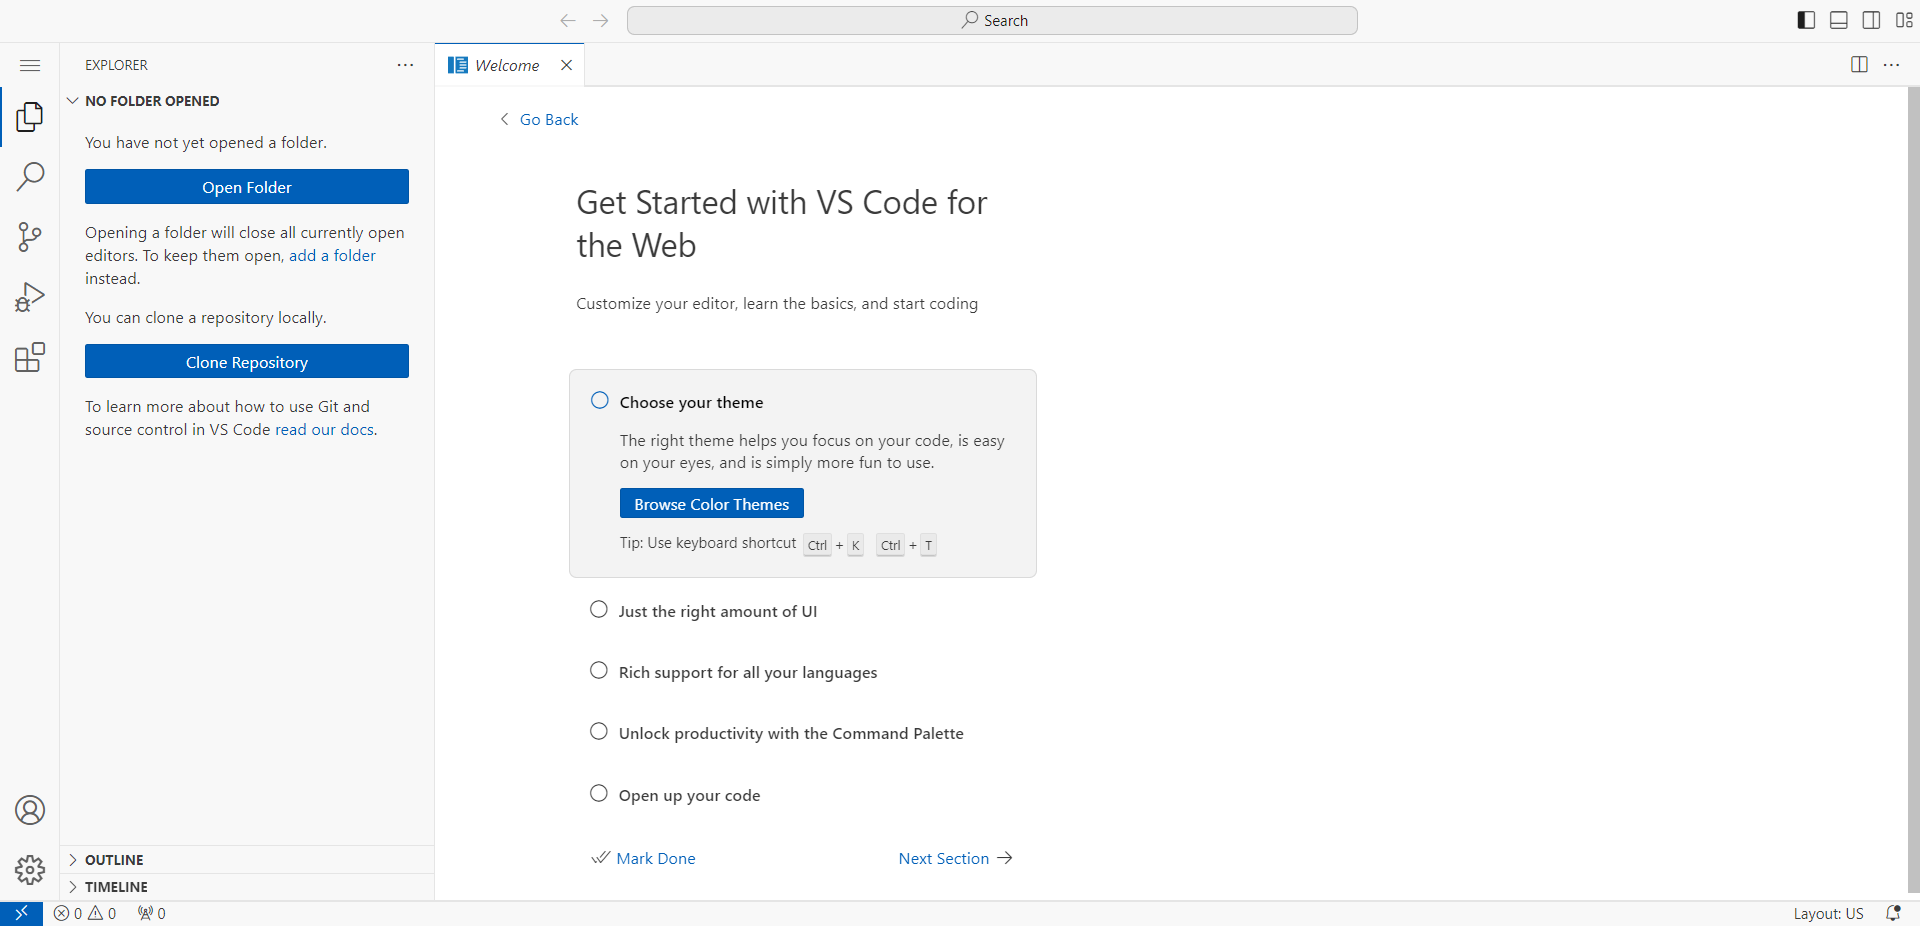
- We will use the browser-based VSCode Server, which is packed in our Stack, as our development environment.
- Check Outputs of the stack
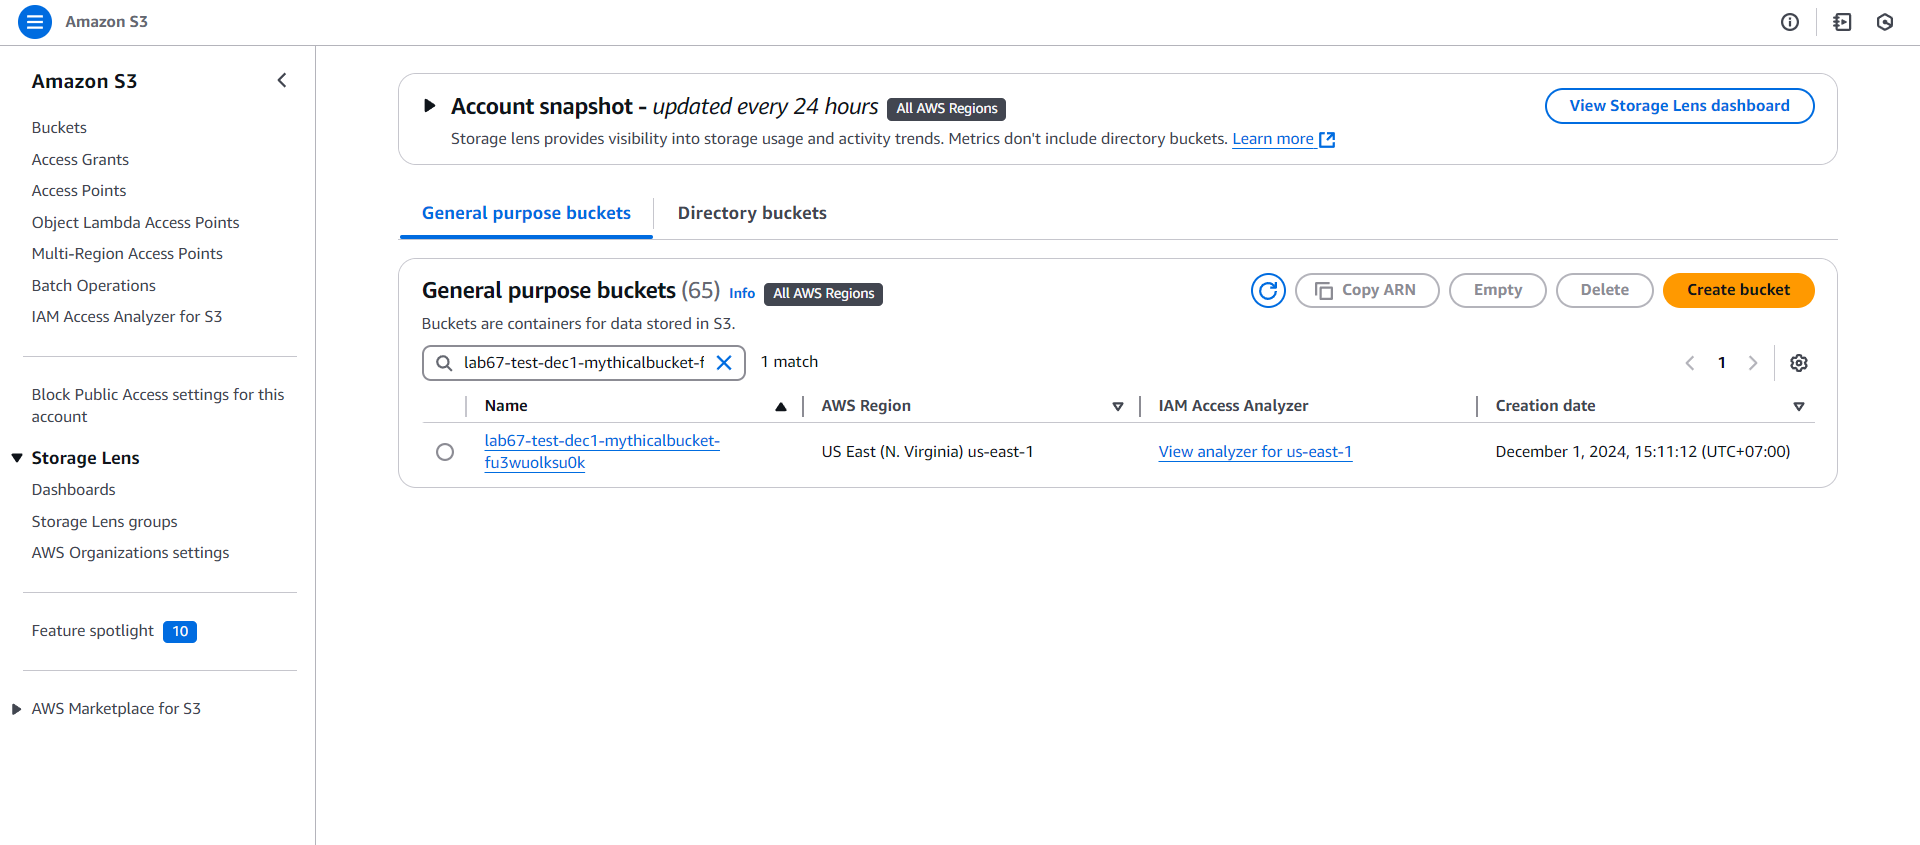
- Access to S3
- Select Buckets
- Bucket has been created (http://BUCKET_NAME.s3-website.REGION.amazonaws.com/)
- The website is static and the link is saved in workshop-1/cfn-outputs.json
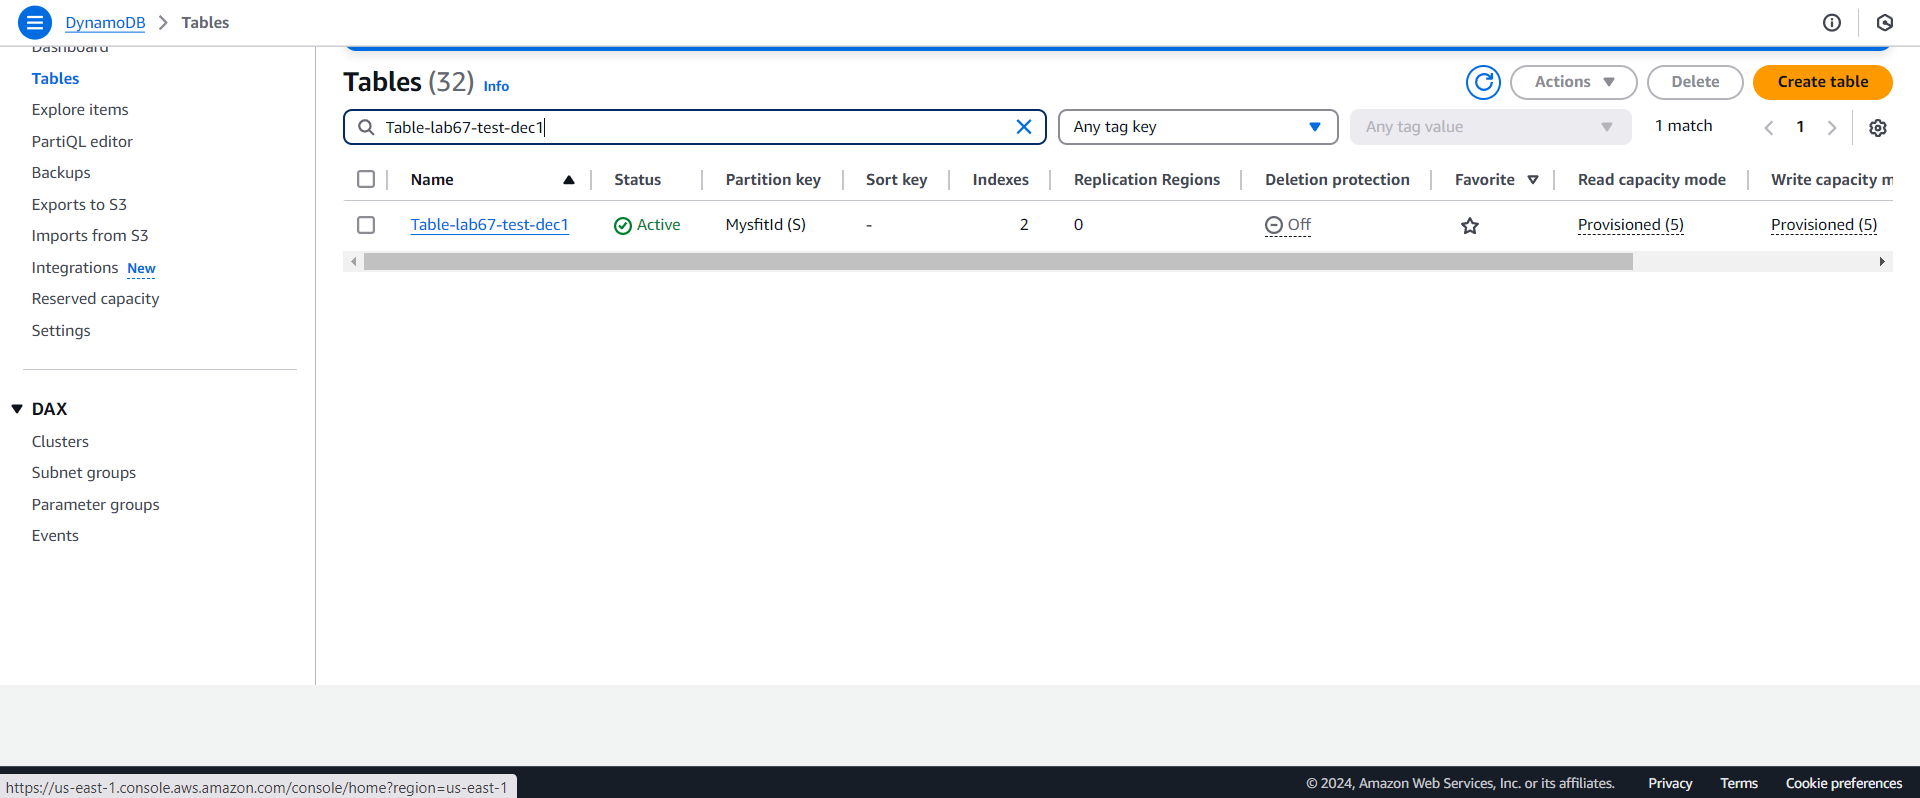
- Next we check DynamoDB
- Access to DynamoDB
- New Table has been initialized
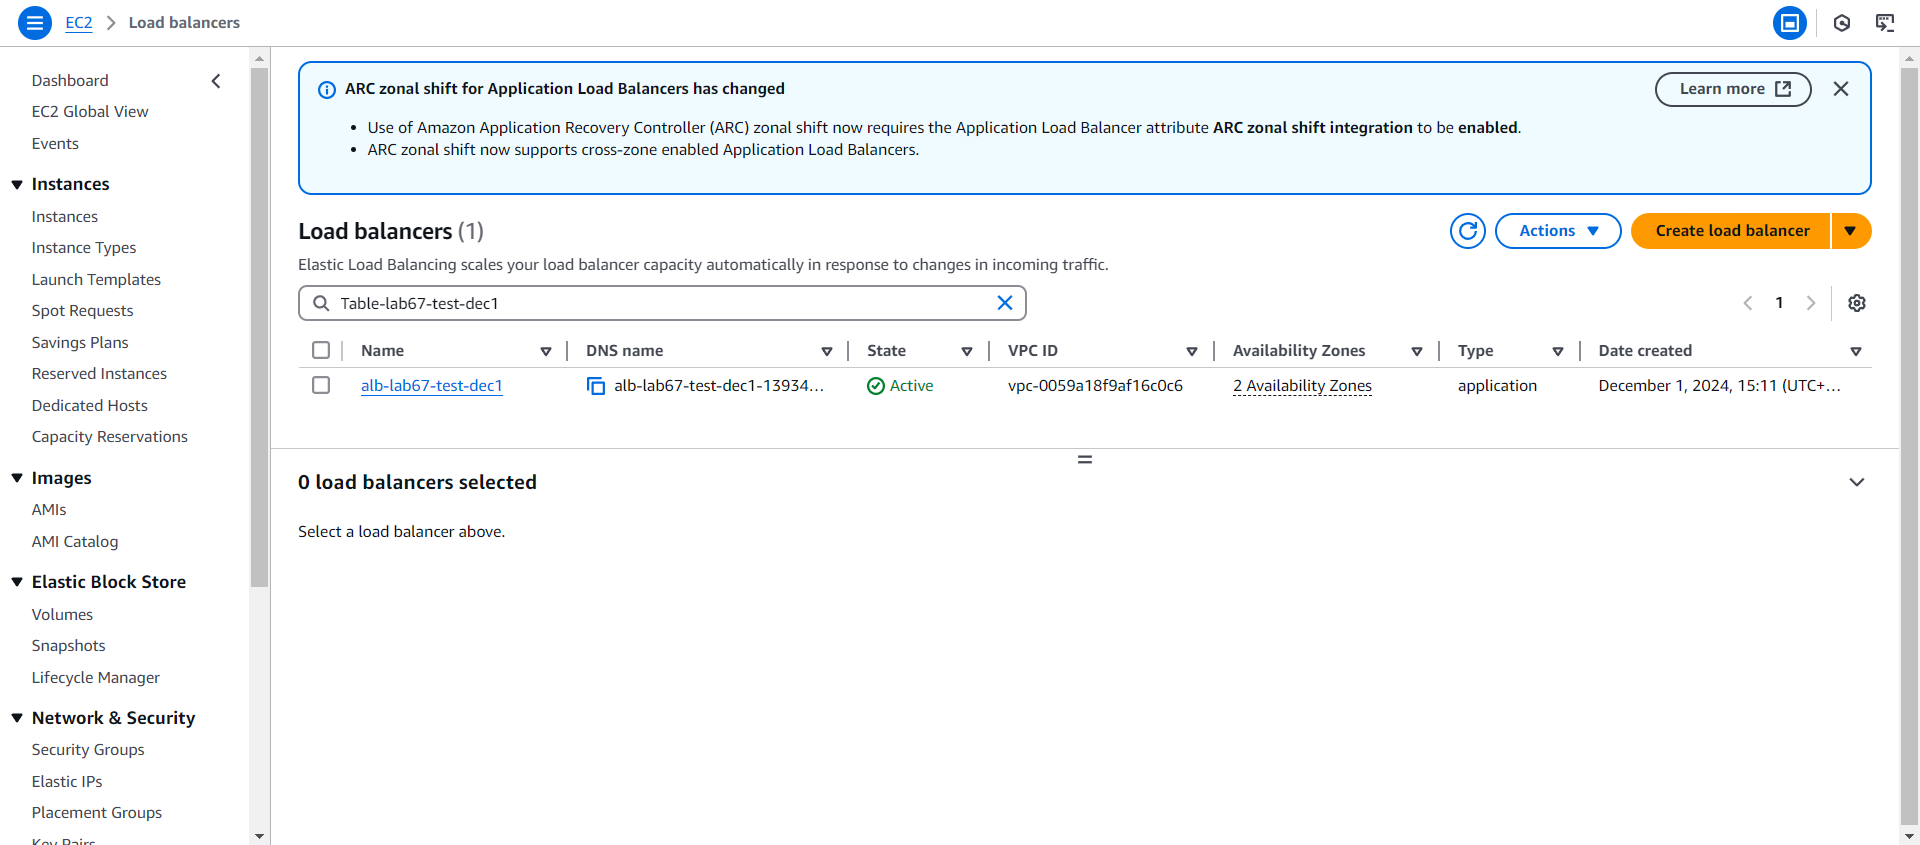
- Check Load Balancers
- Access to EC2
- Select Load Balancers
- Check the result