Deploy the container using AWS Fargate
Deploy the container using AWS Fargate
-
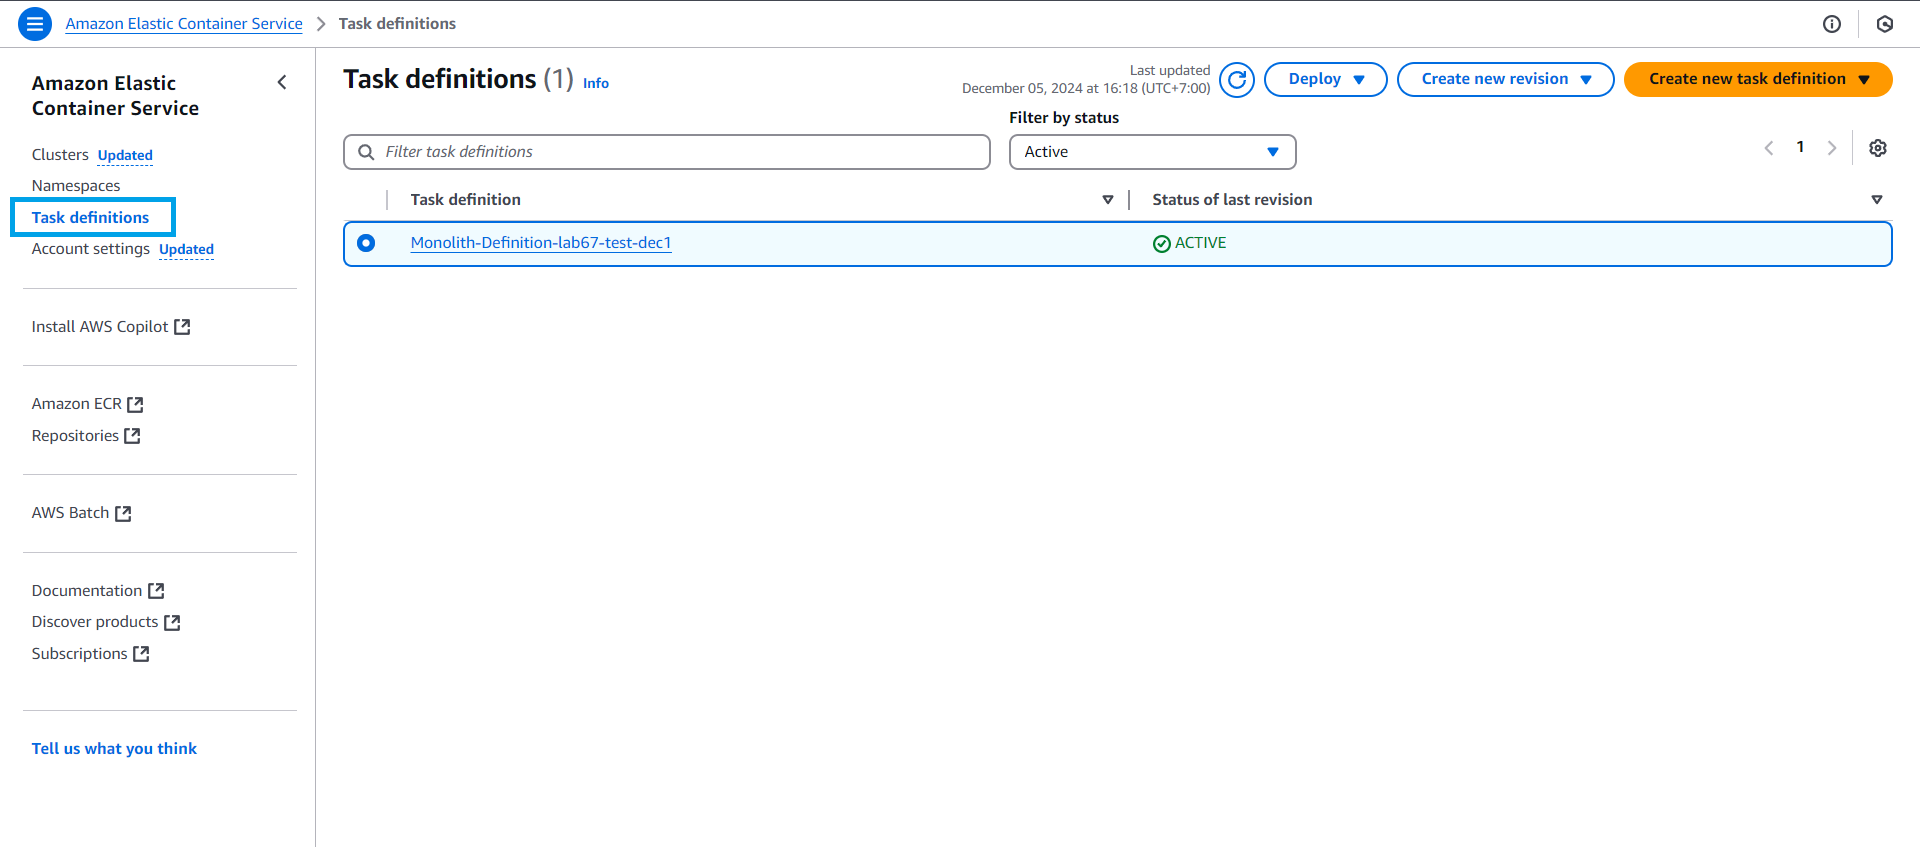
First we will create Task definitions to run monolith
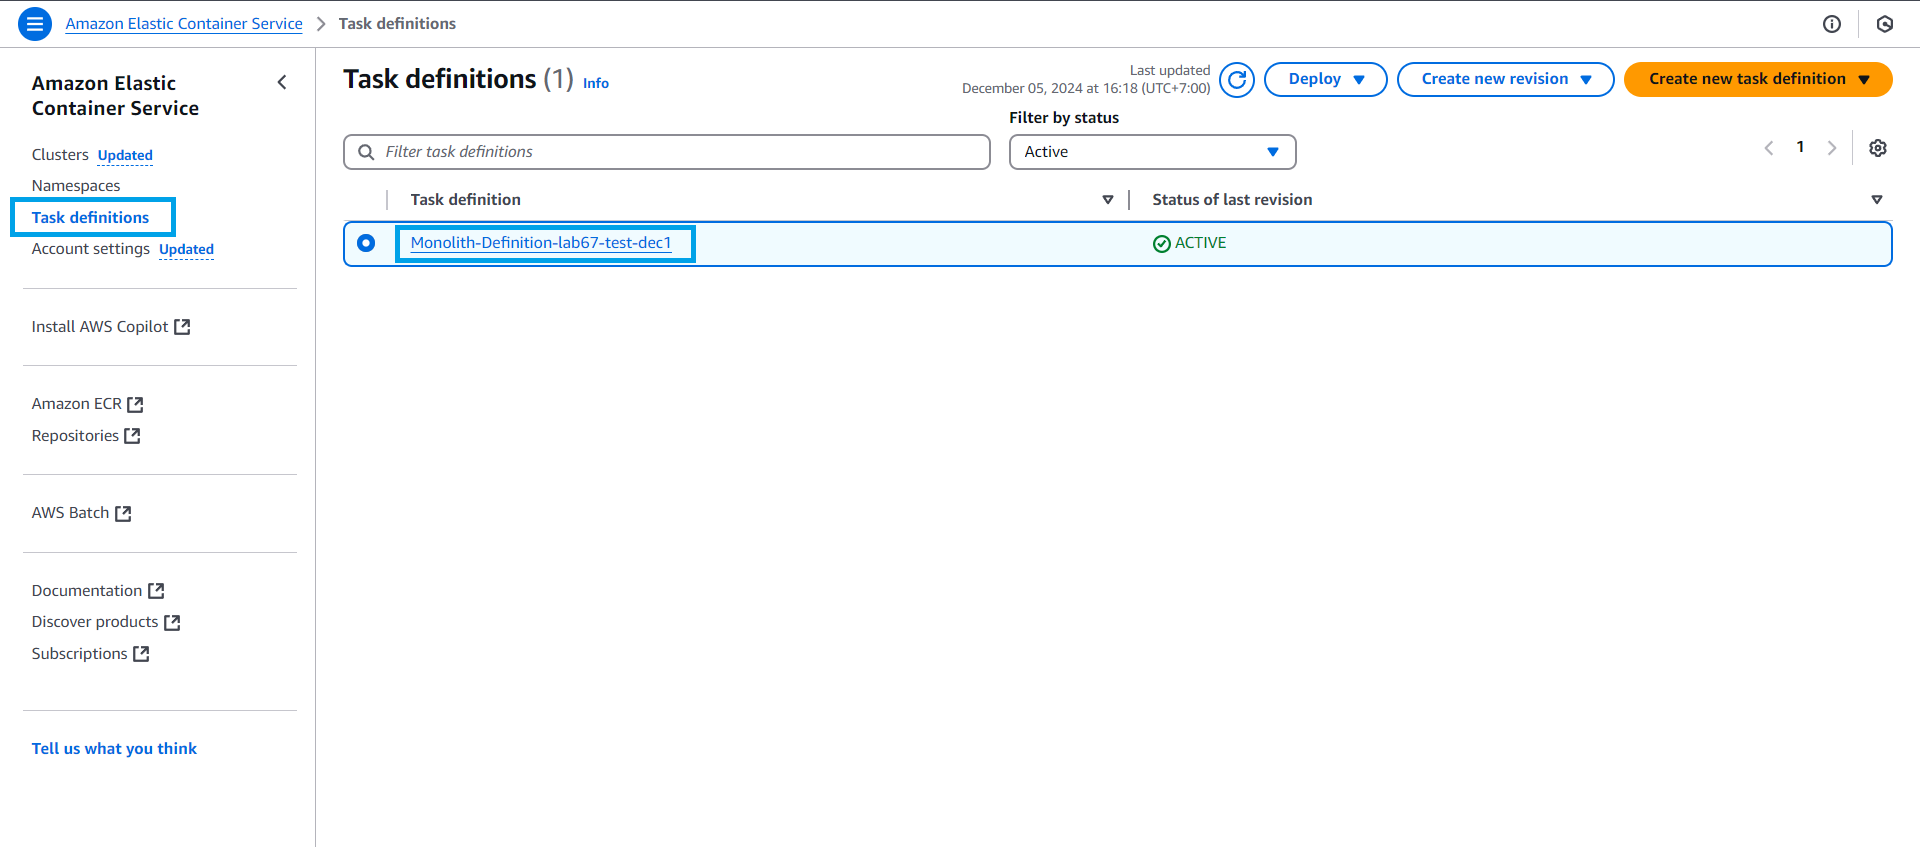
- Go to ECS
- Select Task definitions
- Find the Task definition named Monolith-Definition-STACK_NAME
-
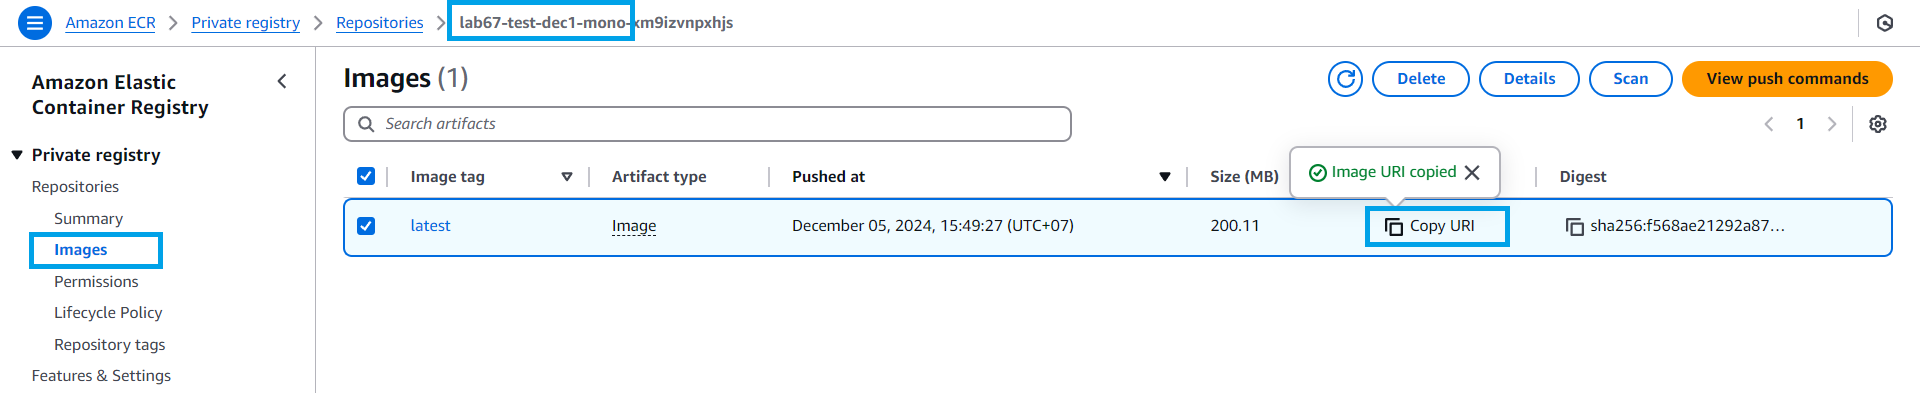
Go to ECR
- Copy Image URI
-
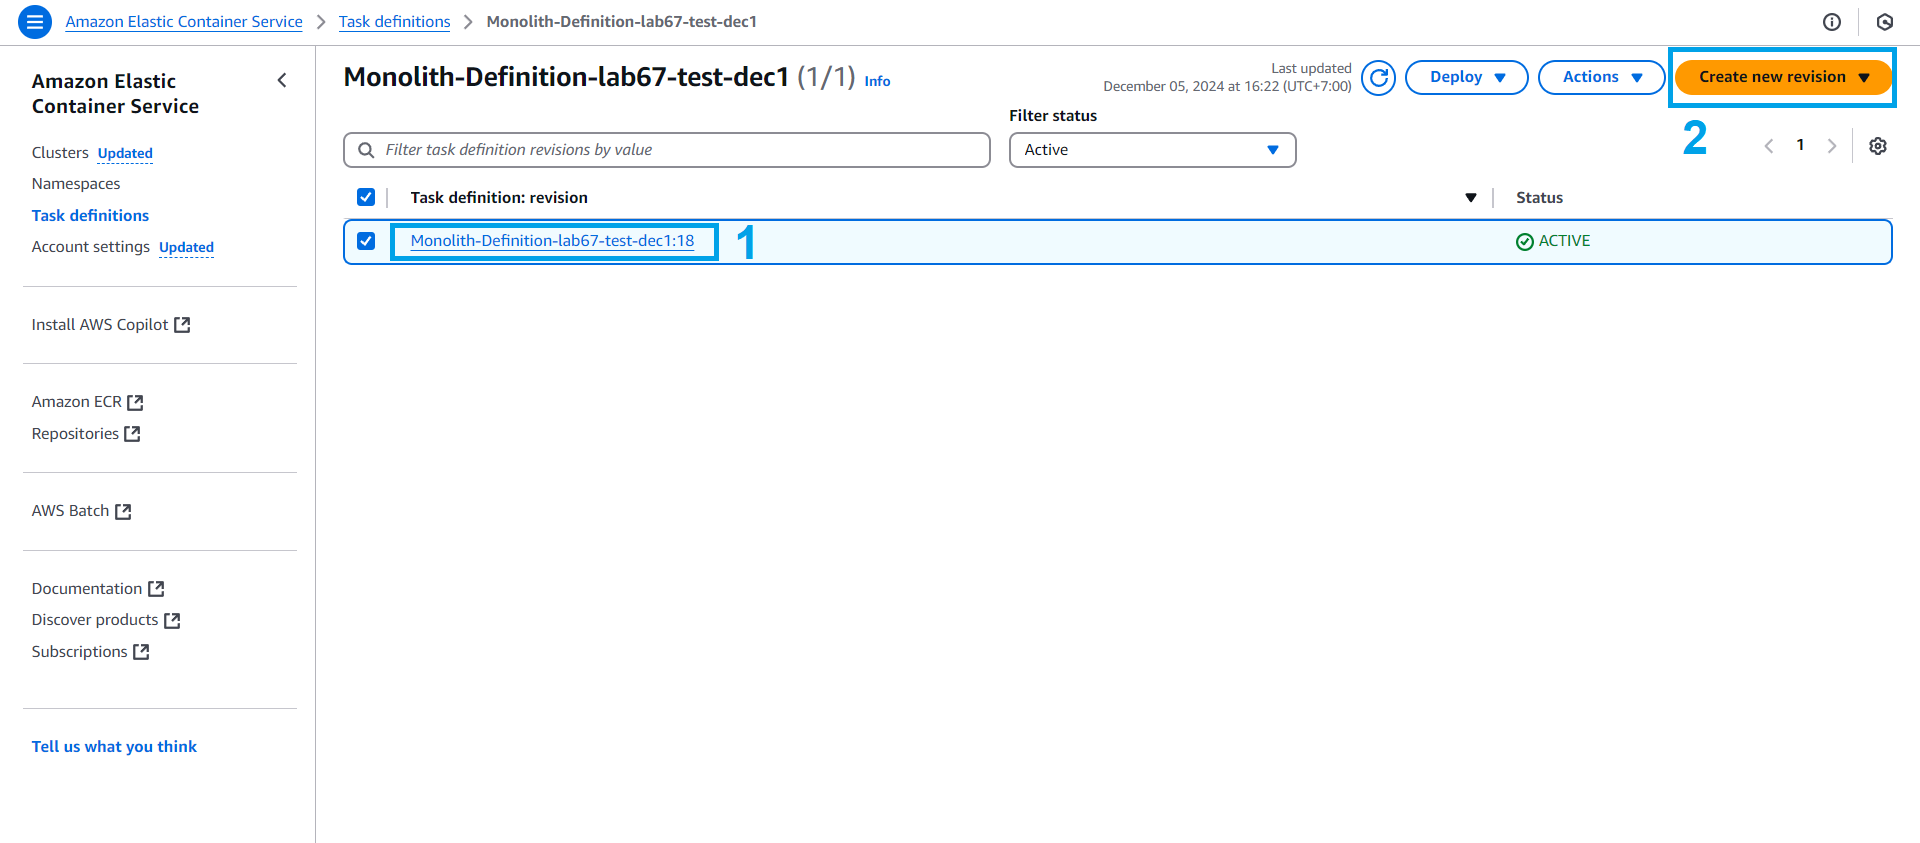
Back to interface ECS
- Select Monolith-Definition-STACK_NAME
-
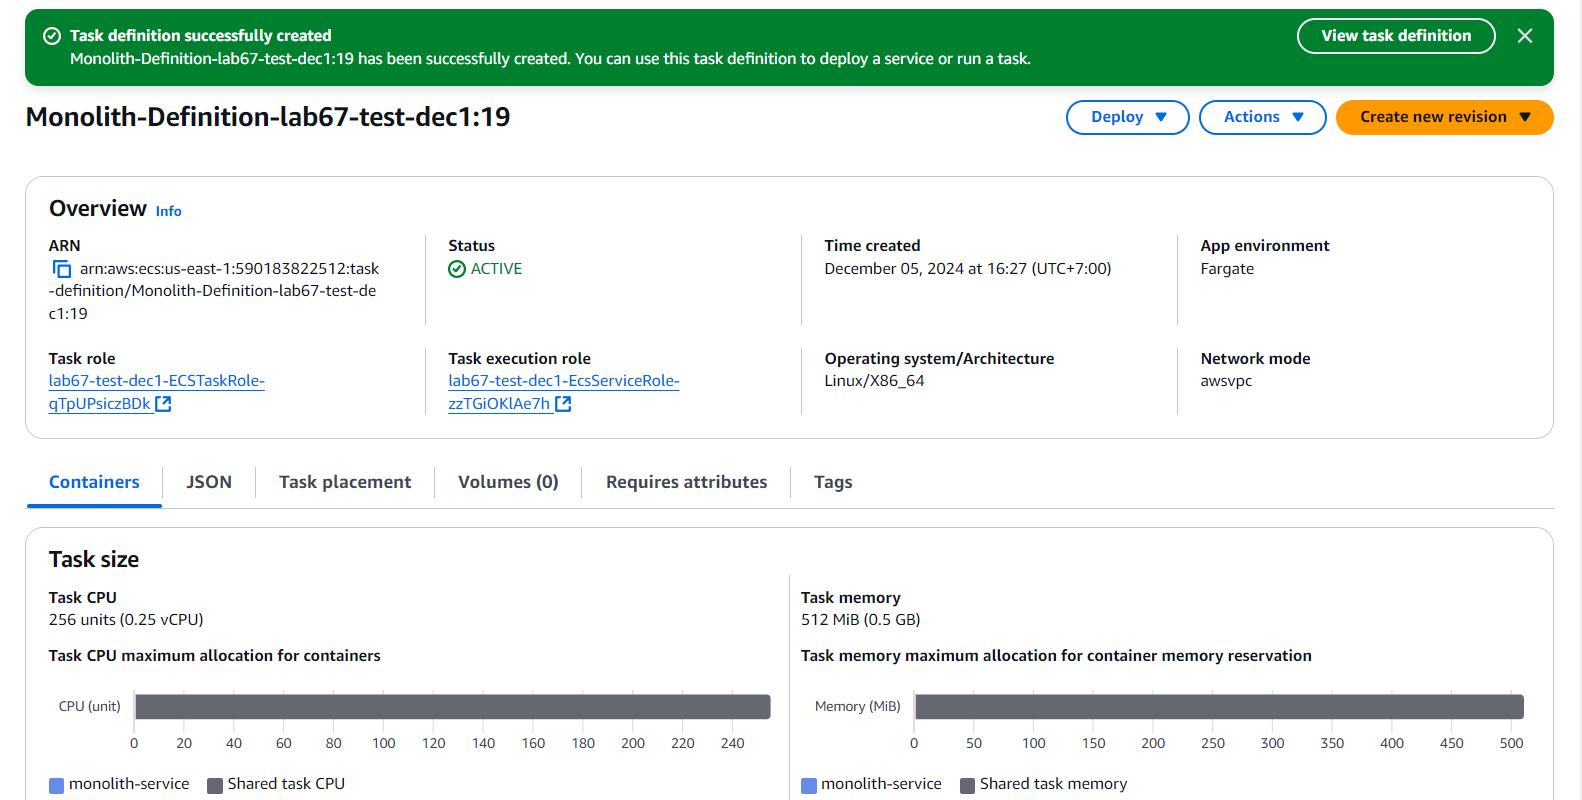
In the interface Monolith-Definition-STACK_NAME revision 1. We will create a new revision.
- Select Create new revision
-
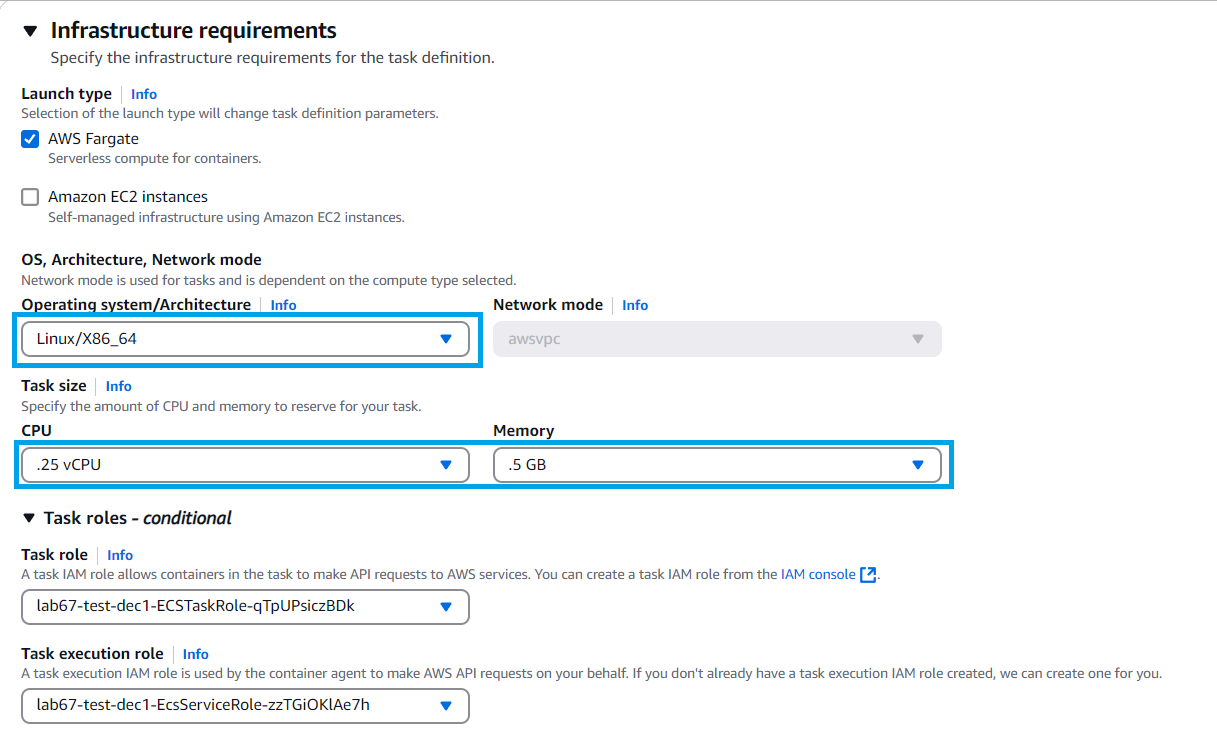
Configure the OS and amount of CPU and memory
-
Configure Container
- Name, enter the service name of your choice (In the lab, enter
monolith-service) - Paste the copied Image URI into Image URI
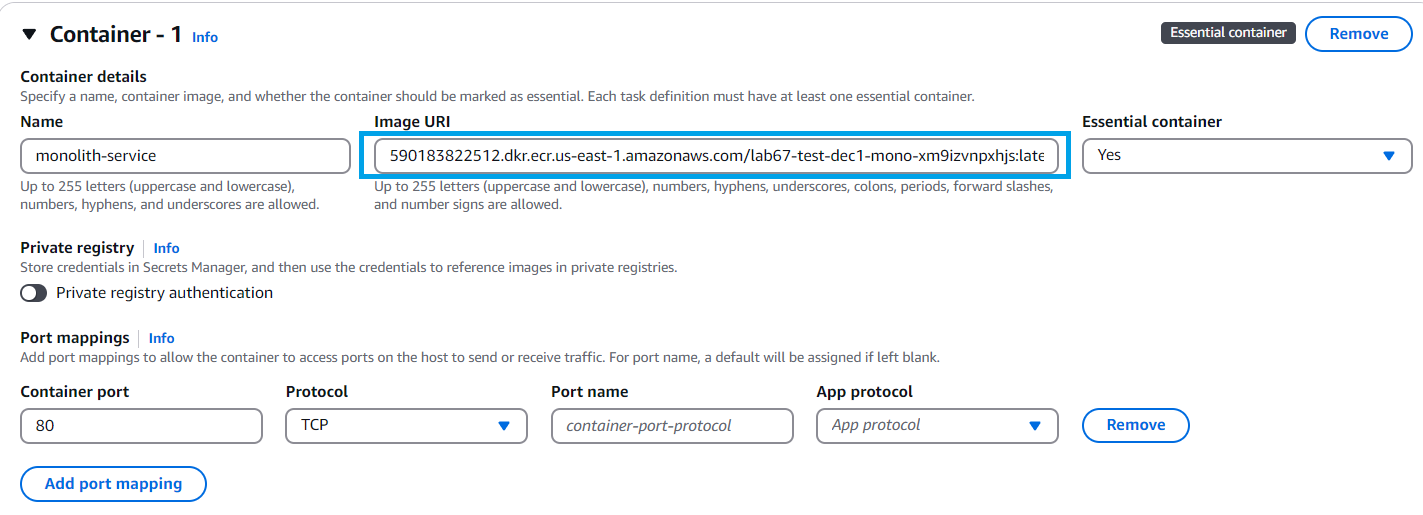
- Name, enter the service name of your choice (In the lab, enter
-
Configure Log collection
- Find the log group of the lab in the CloudFormation stack, copy the physical ID and paste it in the value of the
awslogs-groupkey.

- Find the log group of the lab in the CloudFormation stack, copy the physical ID and paste it in the value of the
-
Finish creating a new revision
-
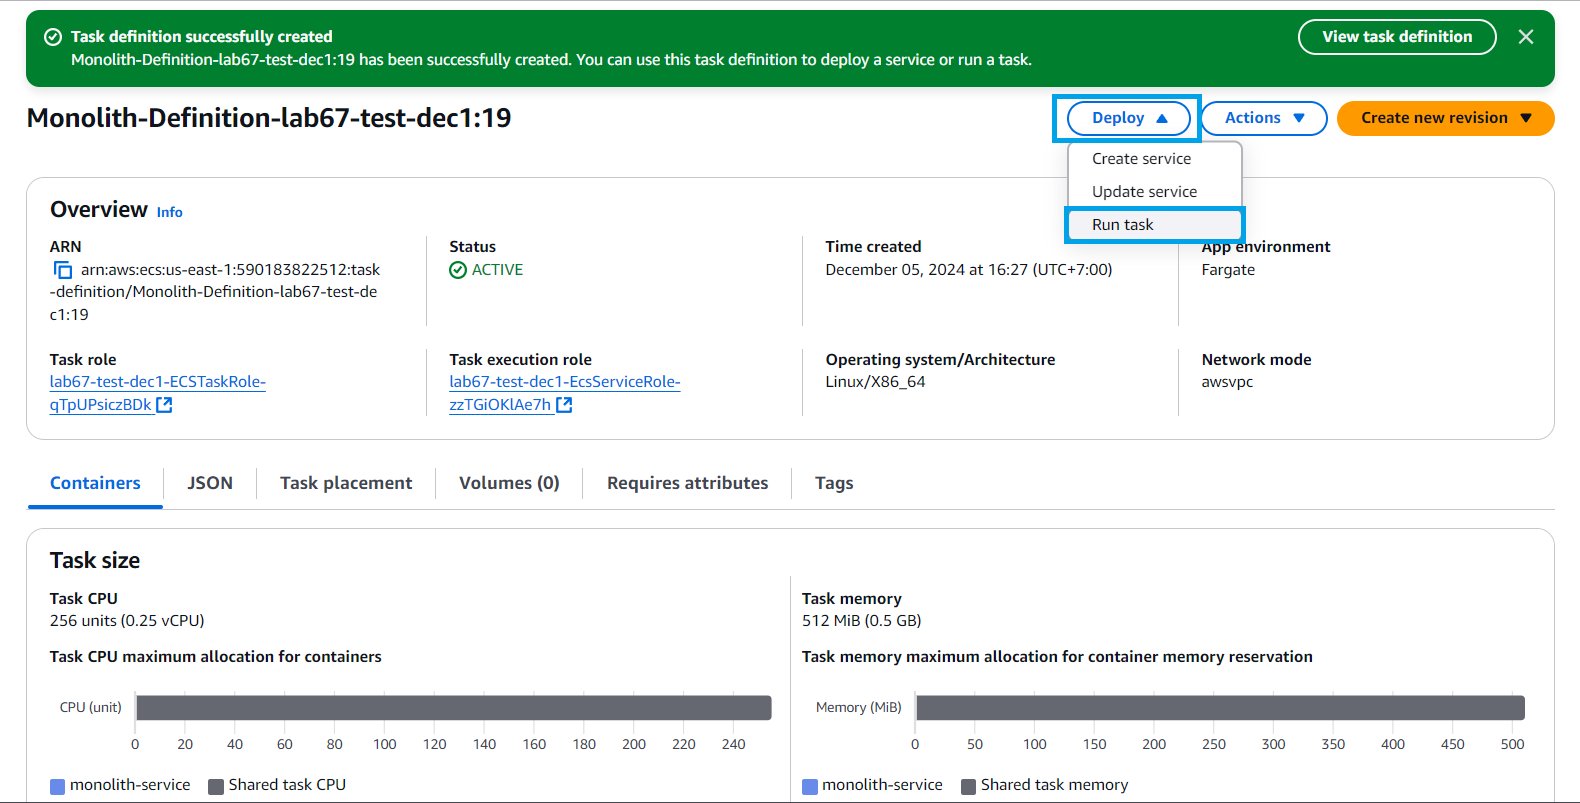
In the Monolith-Definition-STACK_NAME console UI:
- Select Deploy
- Select Run task
-
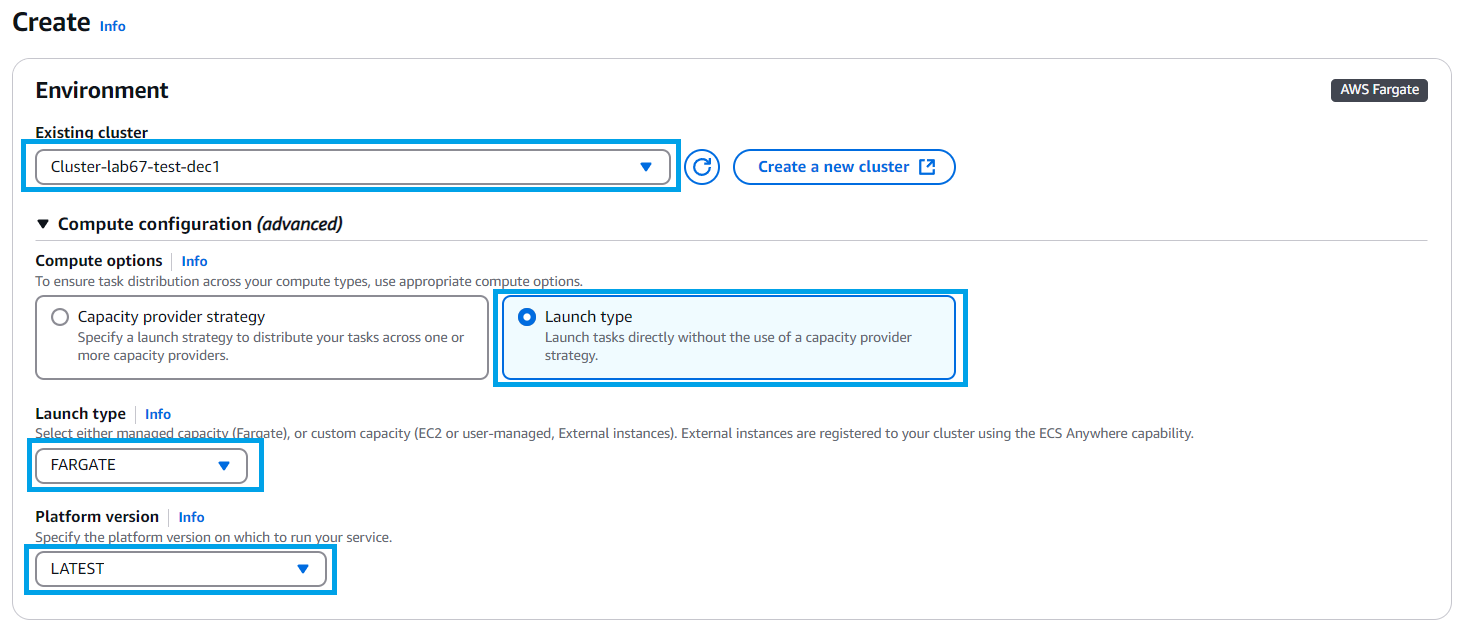
In the Deploy interface
- Environment, select Existing cluster, select Cluster-STACK_NAME
- Select Launch type
- In Launch type, select FARGATE
- Platform version select LATEST
-
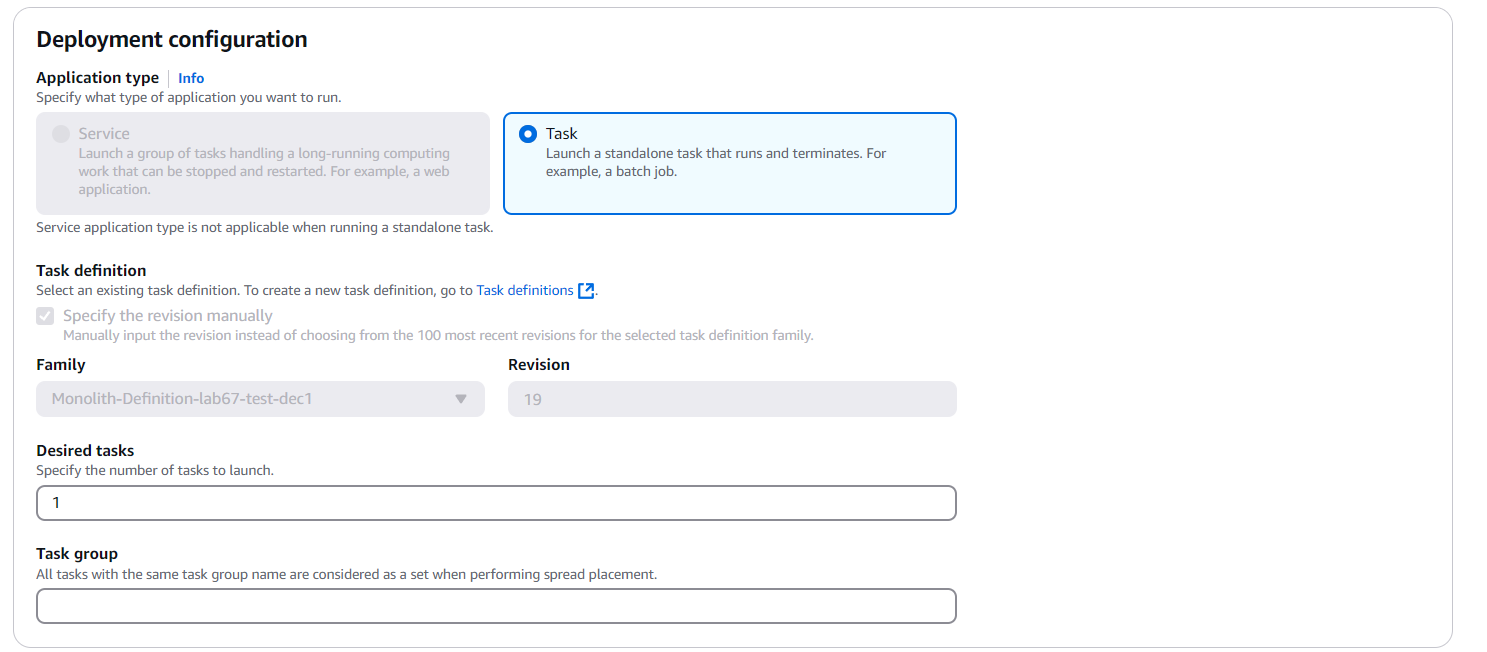
In the Deployment configuration section
- Select Task
- Desired choose 1
-
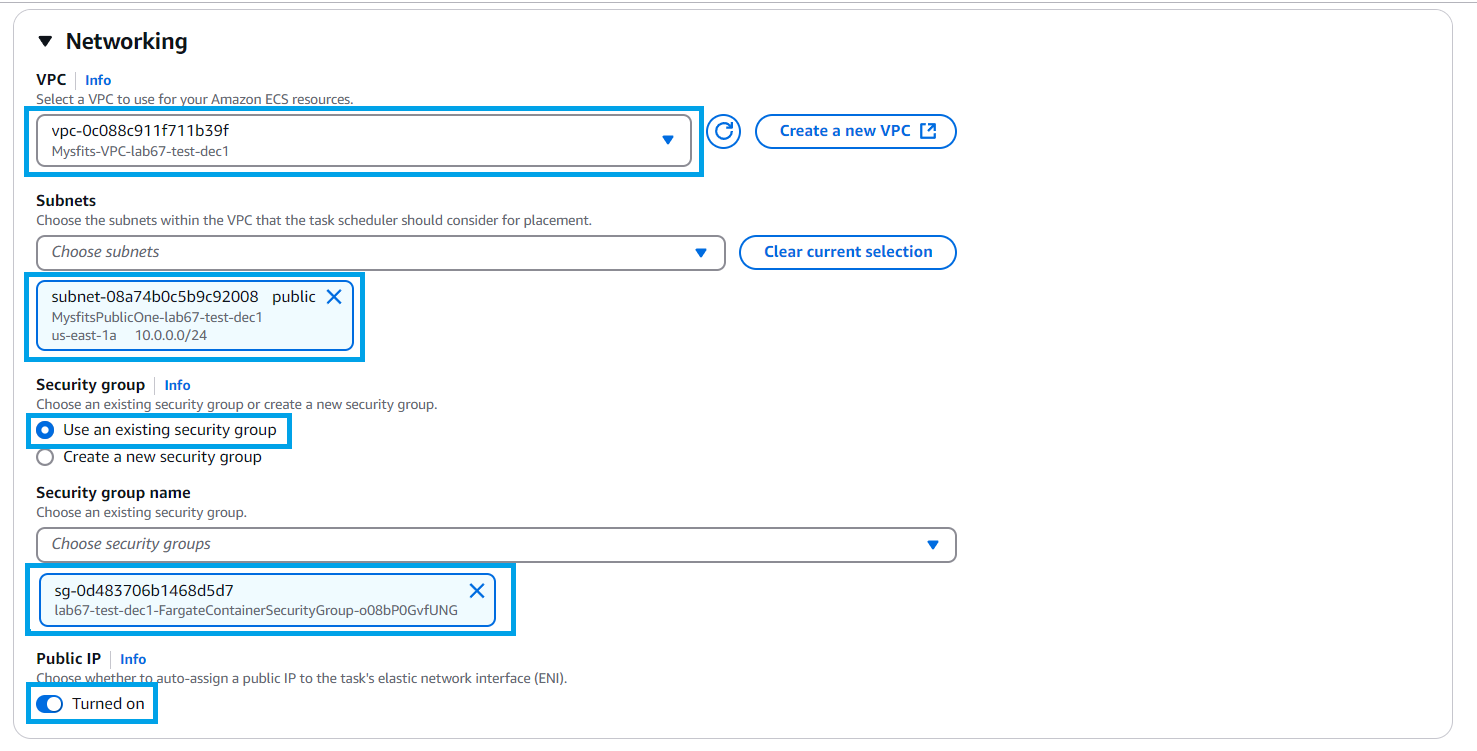
Configure Networking
- VPC, select Mysfits-VPC-STACK_NAME
- Subnets select Mysfits-PublicOne-STACK_NAME
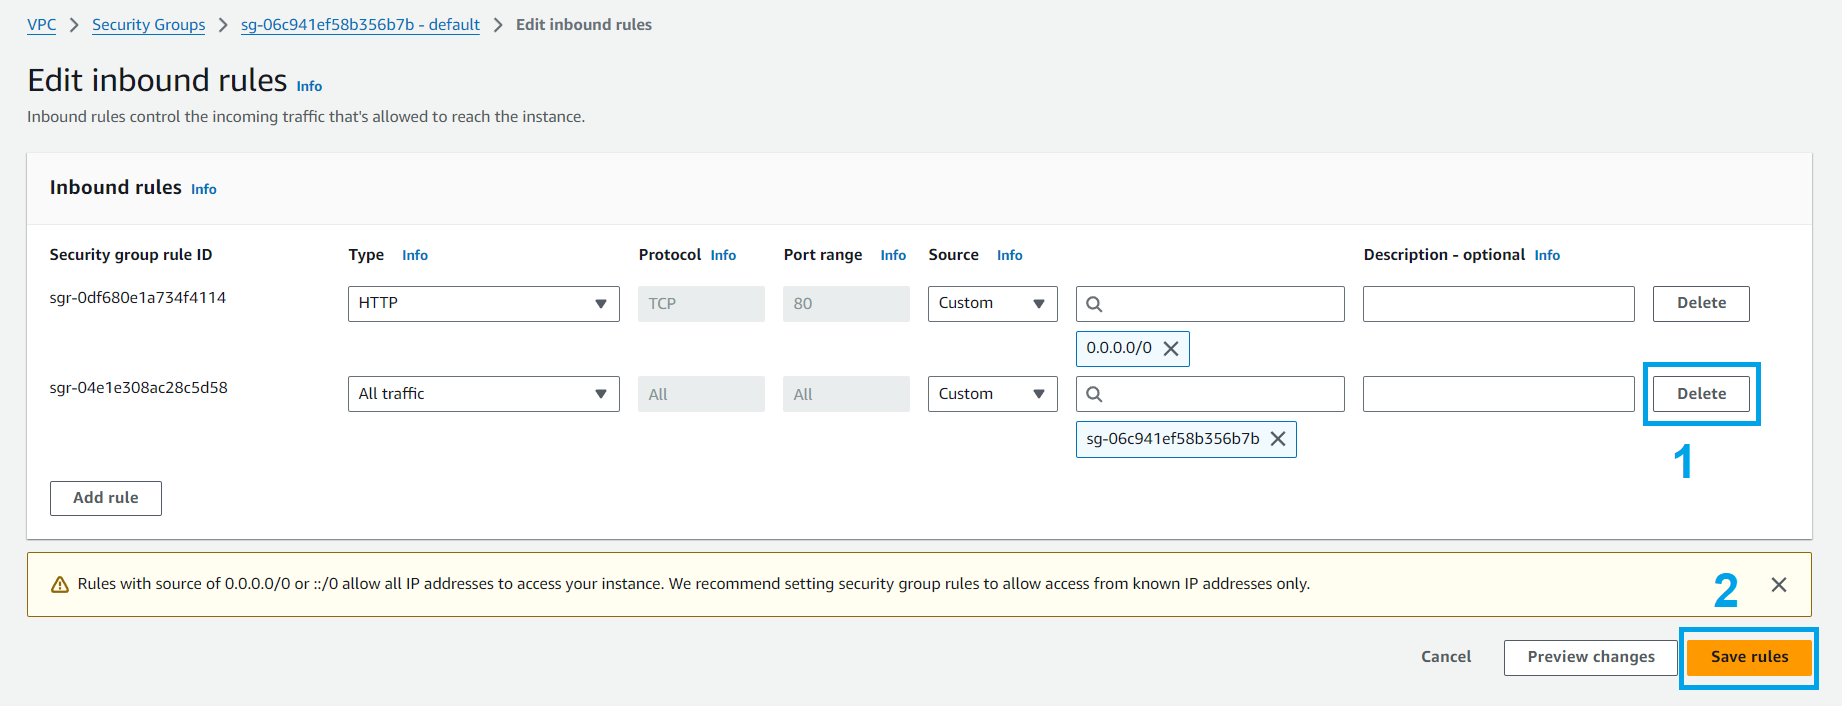
- Select Security Group, Select Use an existing security group
- Security group name, choose default but configure inbound port 80
- Auto-assign public IP - “ENABLED”
- Select Deploy
-
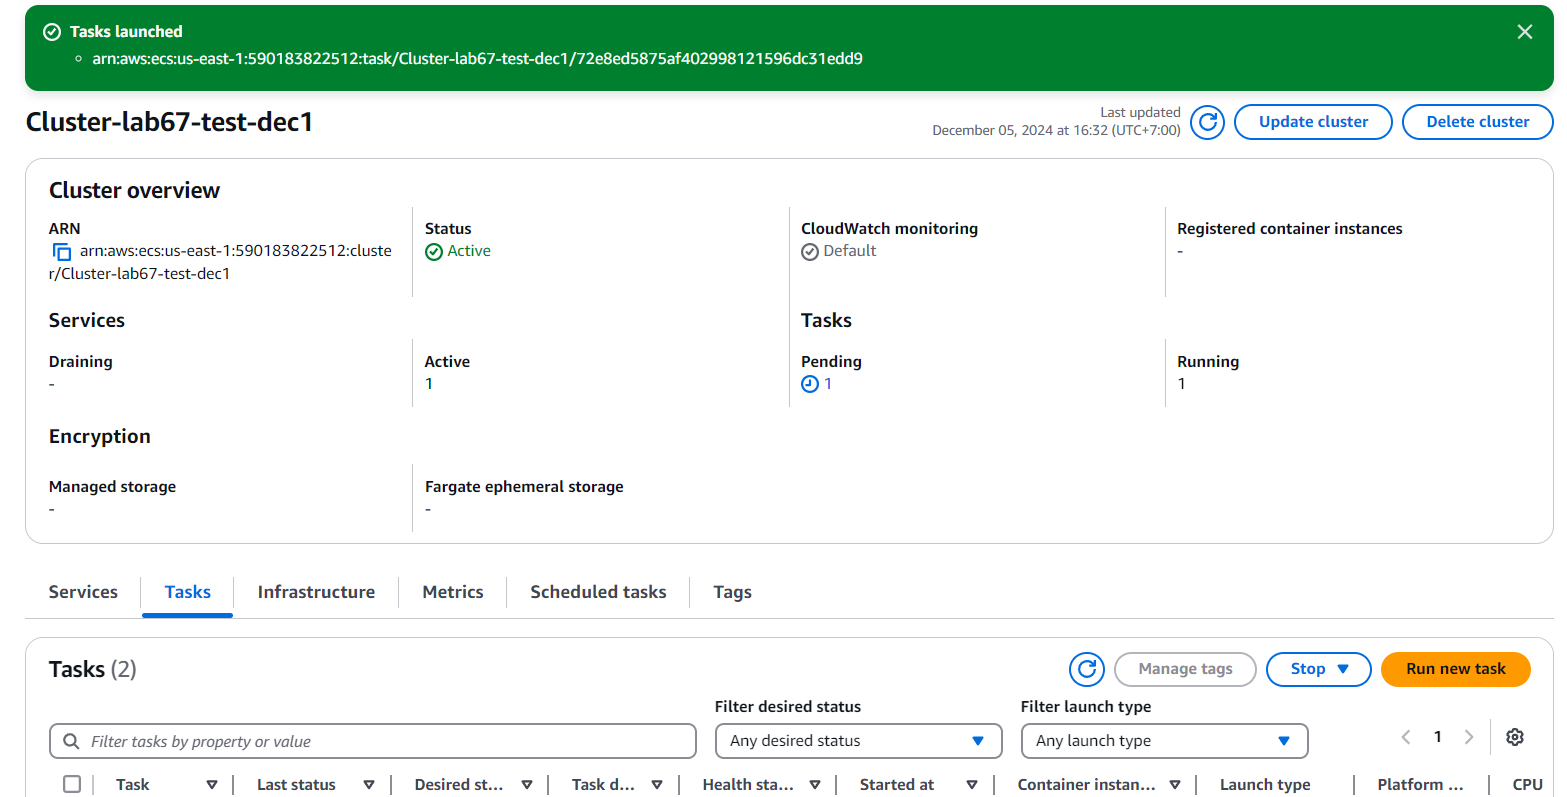
Create task successfully
-
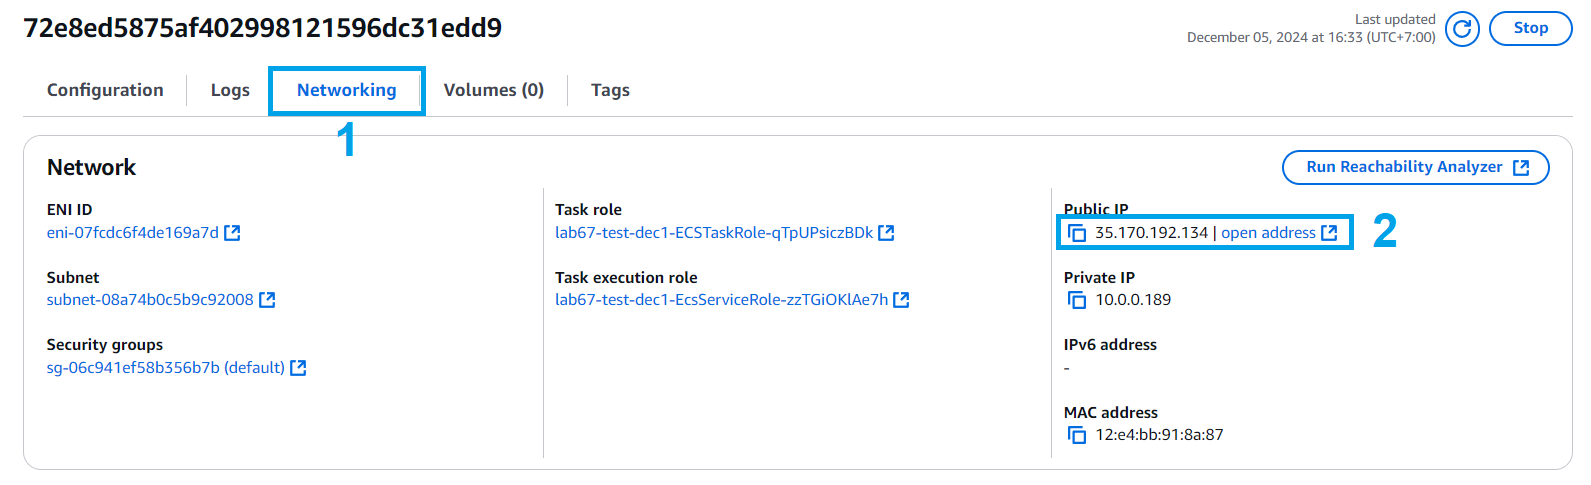
Select the task you just created and select Networking.
- Purpose of using Public IP to use curl command to check by making GET request.
- When using Fargate initialization, each task gets its own ENI and Public IP and Private IP.
-
Make a browser access
http://TASK_PUBLIC_IP_ADDRESS/mysfits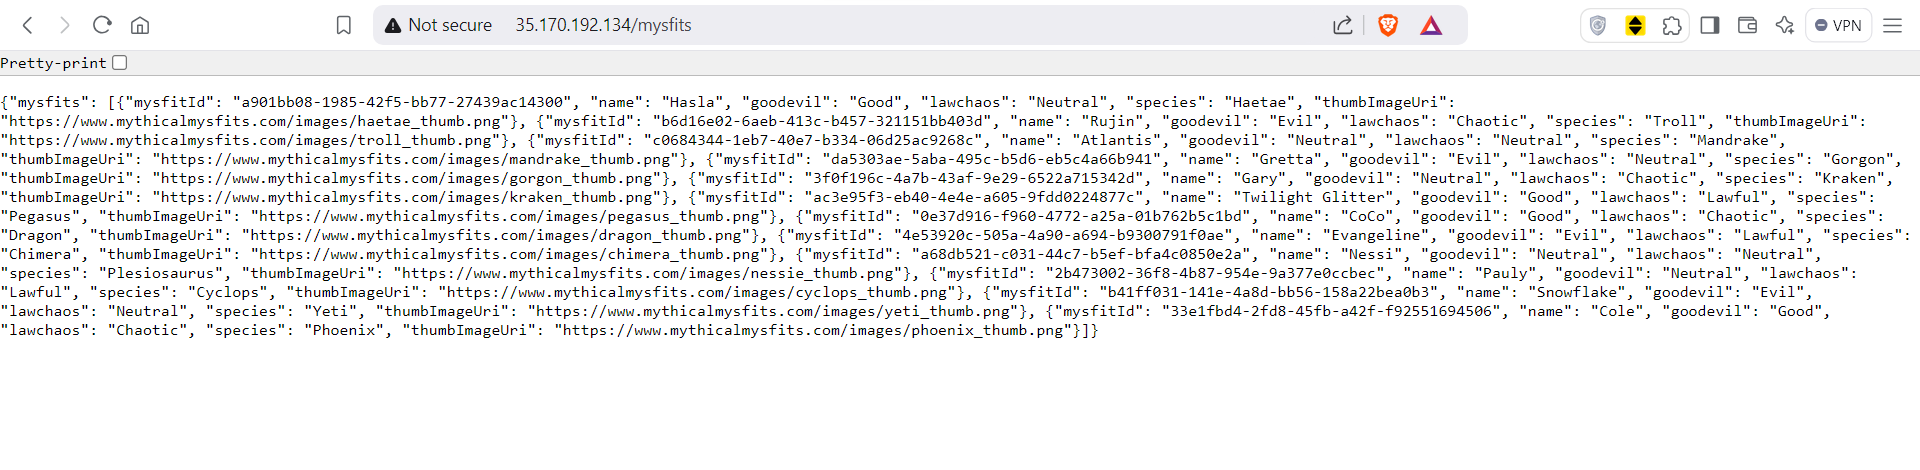
-
Execute the curl command on the CLI of your IDE
curl http://TASK_PUBLIC_IP_ADDRESS/mysfits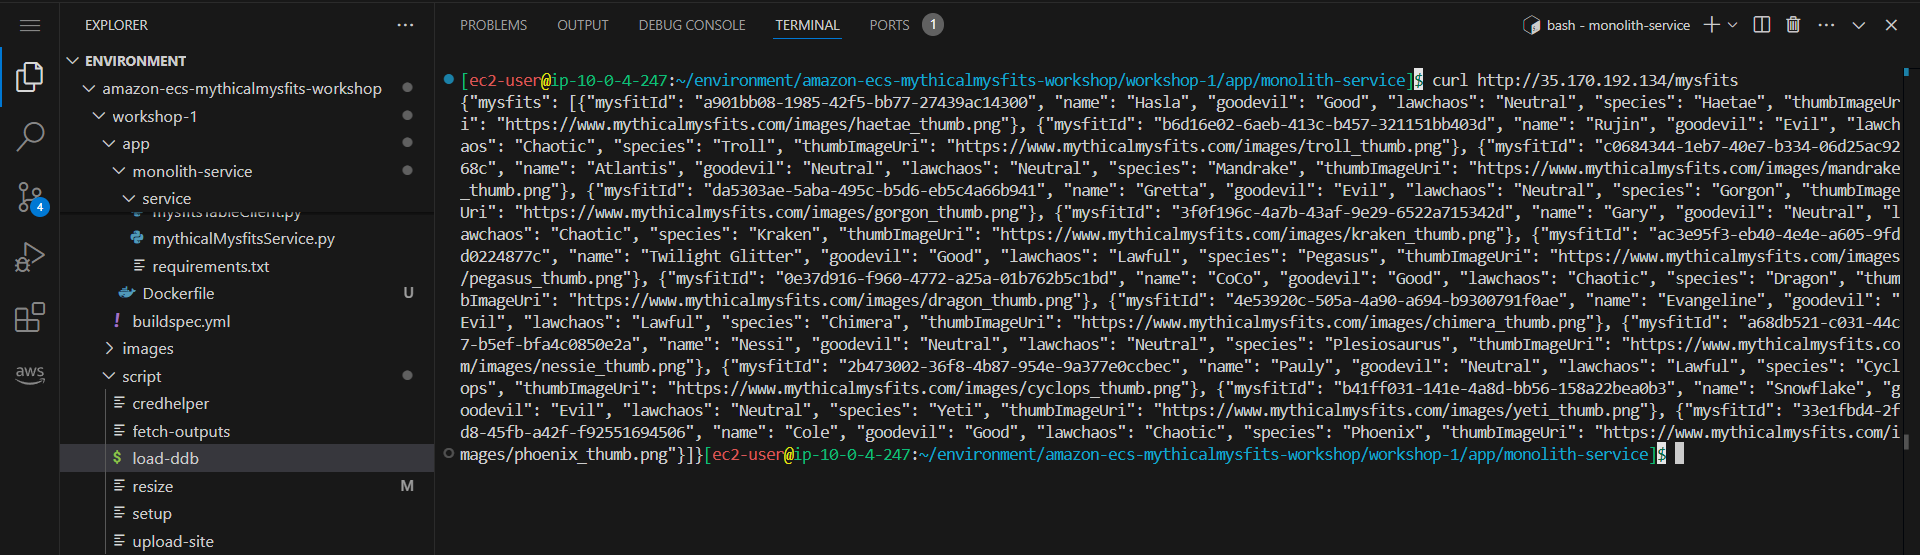
-
Select the task you just created and select Logs

-
Using AWS CloudWatch to View Log events
-
Open the CloudWatch Console
-
Select monolith log group (STACK_NAME-MythicalMonolithLogGroup-XXX)
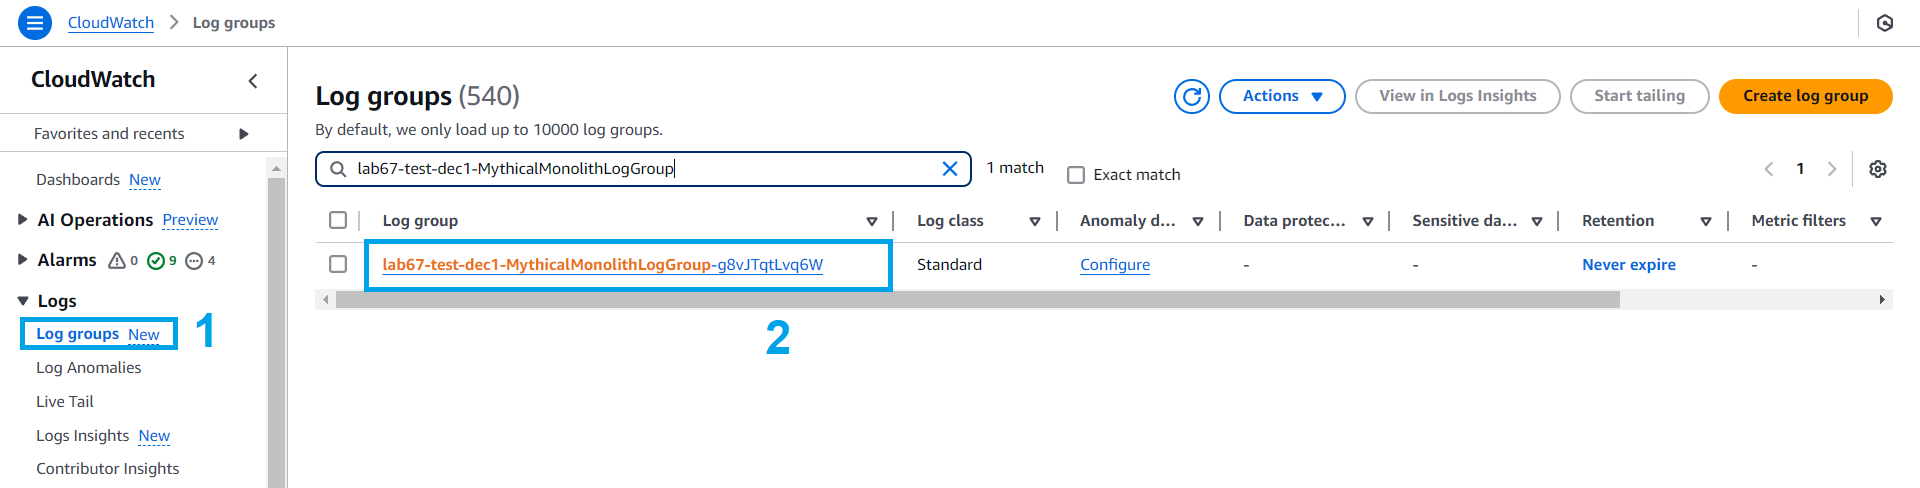
- Choose a log stream to see the detailed event logs


-
-
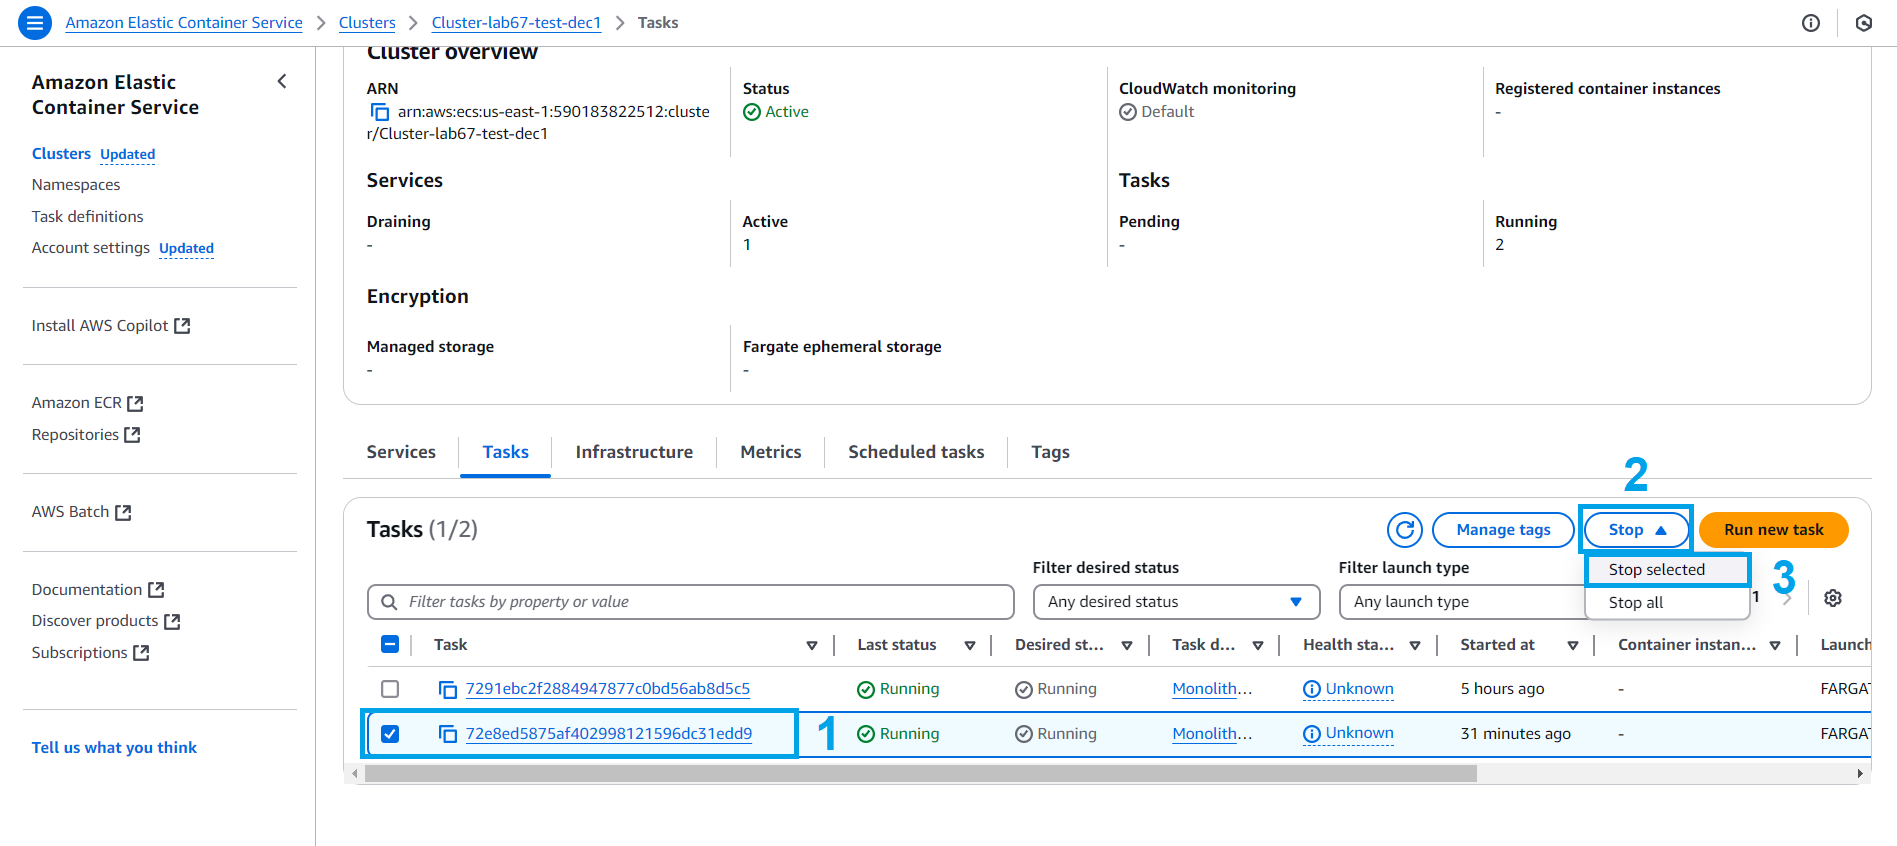
After running the curl (step 15) command successfully, we can delete the task
- Select Task
- Select Monolith-Definition-STACK_NAME revision 2.
- Select Stop
- Select Stop selected
-
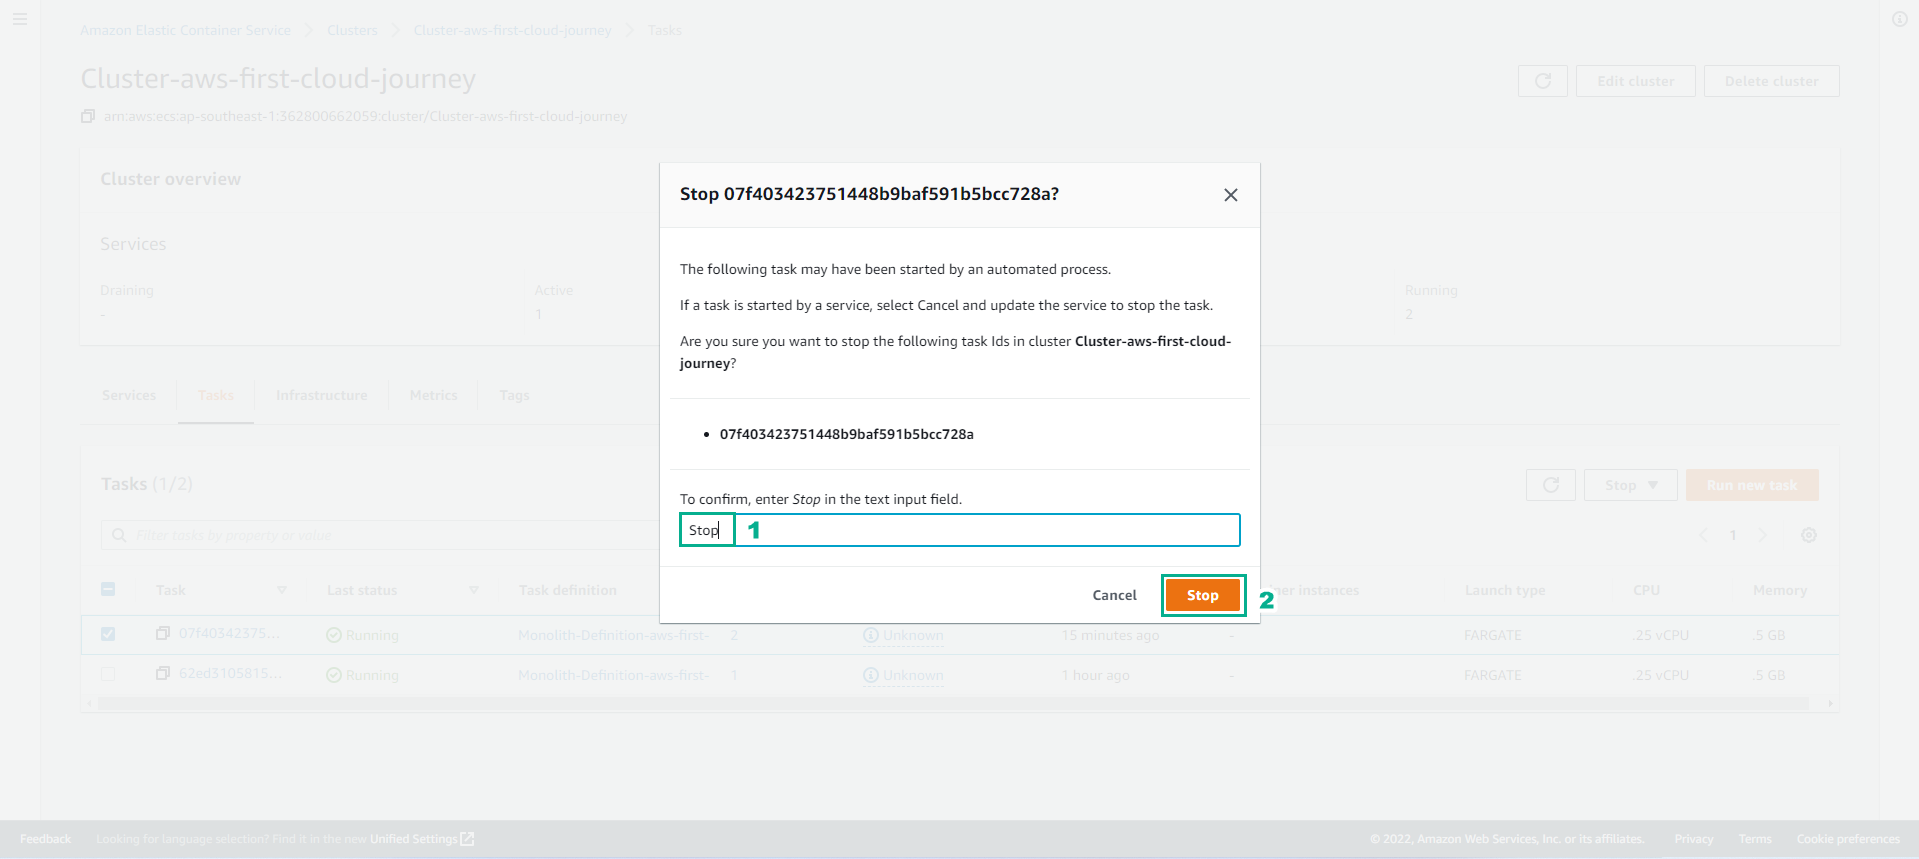
If asked, type Stop to verify and click on Stop
-
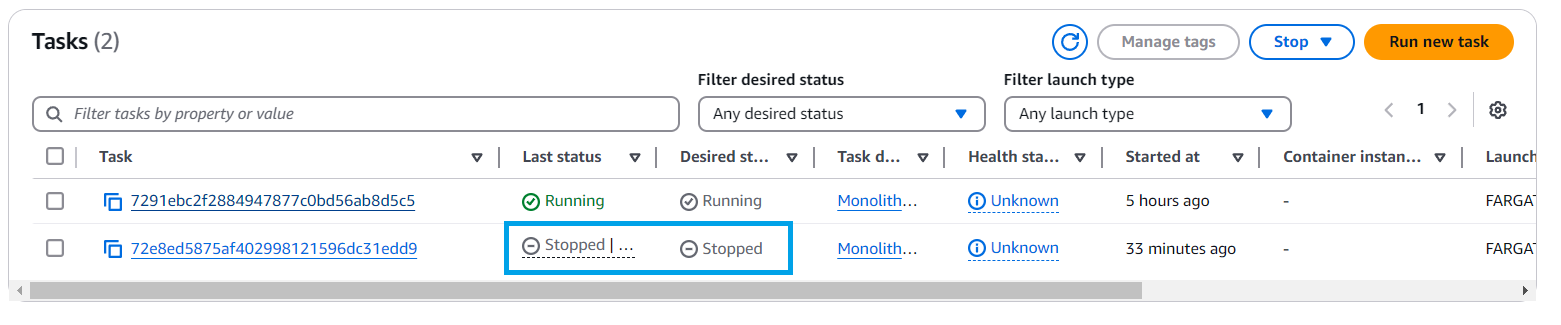
Delete task successfully.
-
Delete the HTTP port 80 rule you have created for the default Security group of the VPC in this lab’s stack.